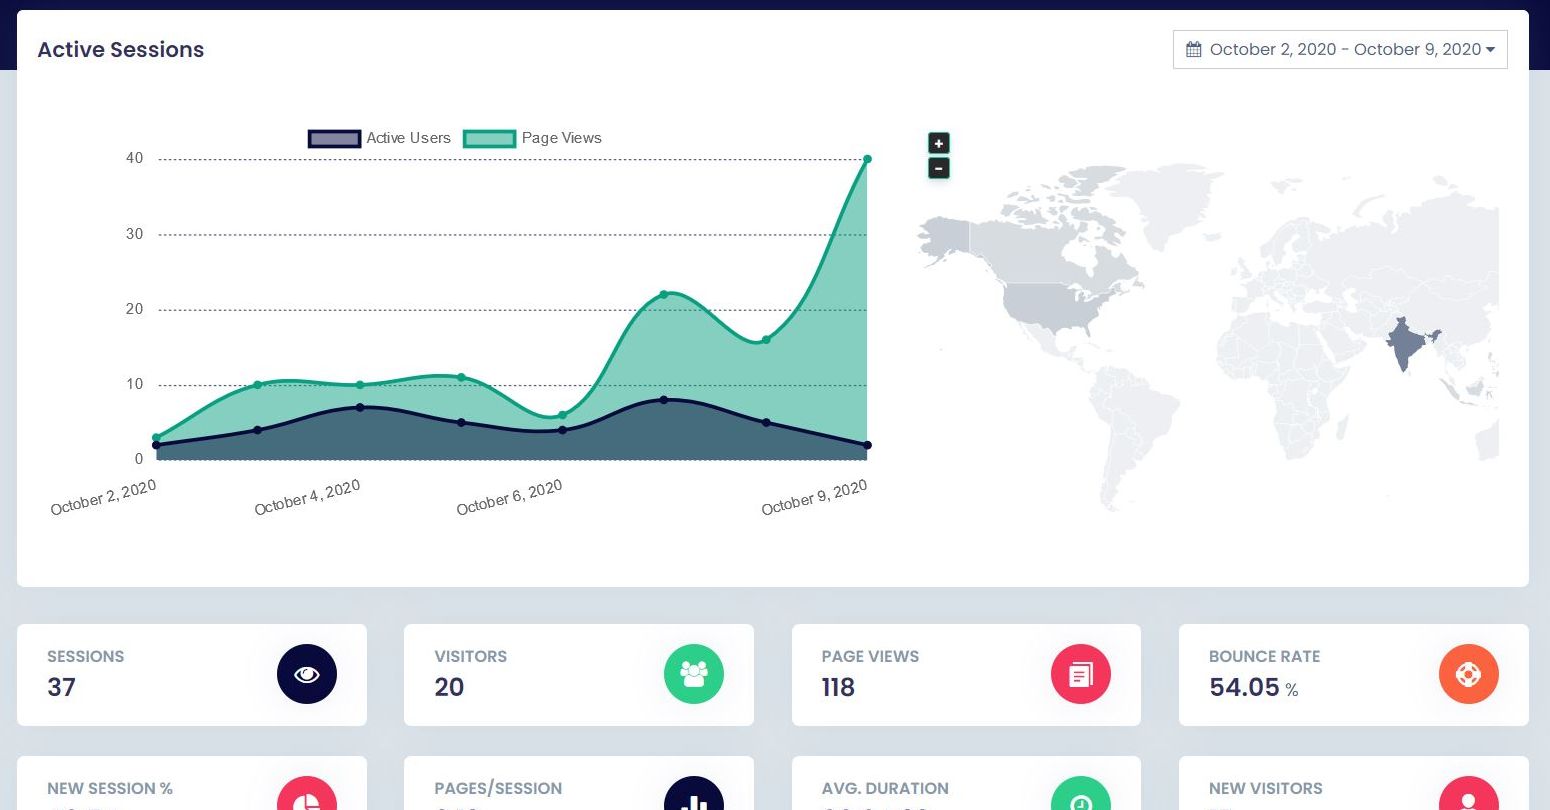
In this post, I will show you how we enable the google analytics and how to get the key for authentication. We are going to see some few steps on google analytics api how we can get authentication, submit the request and parsing the response. The response which is parsed is displayed in the form of graphical on itechsaas cms dashboard. To keep things simple and usable, I am going to walk you through step by step.
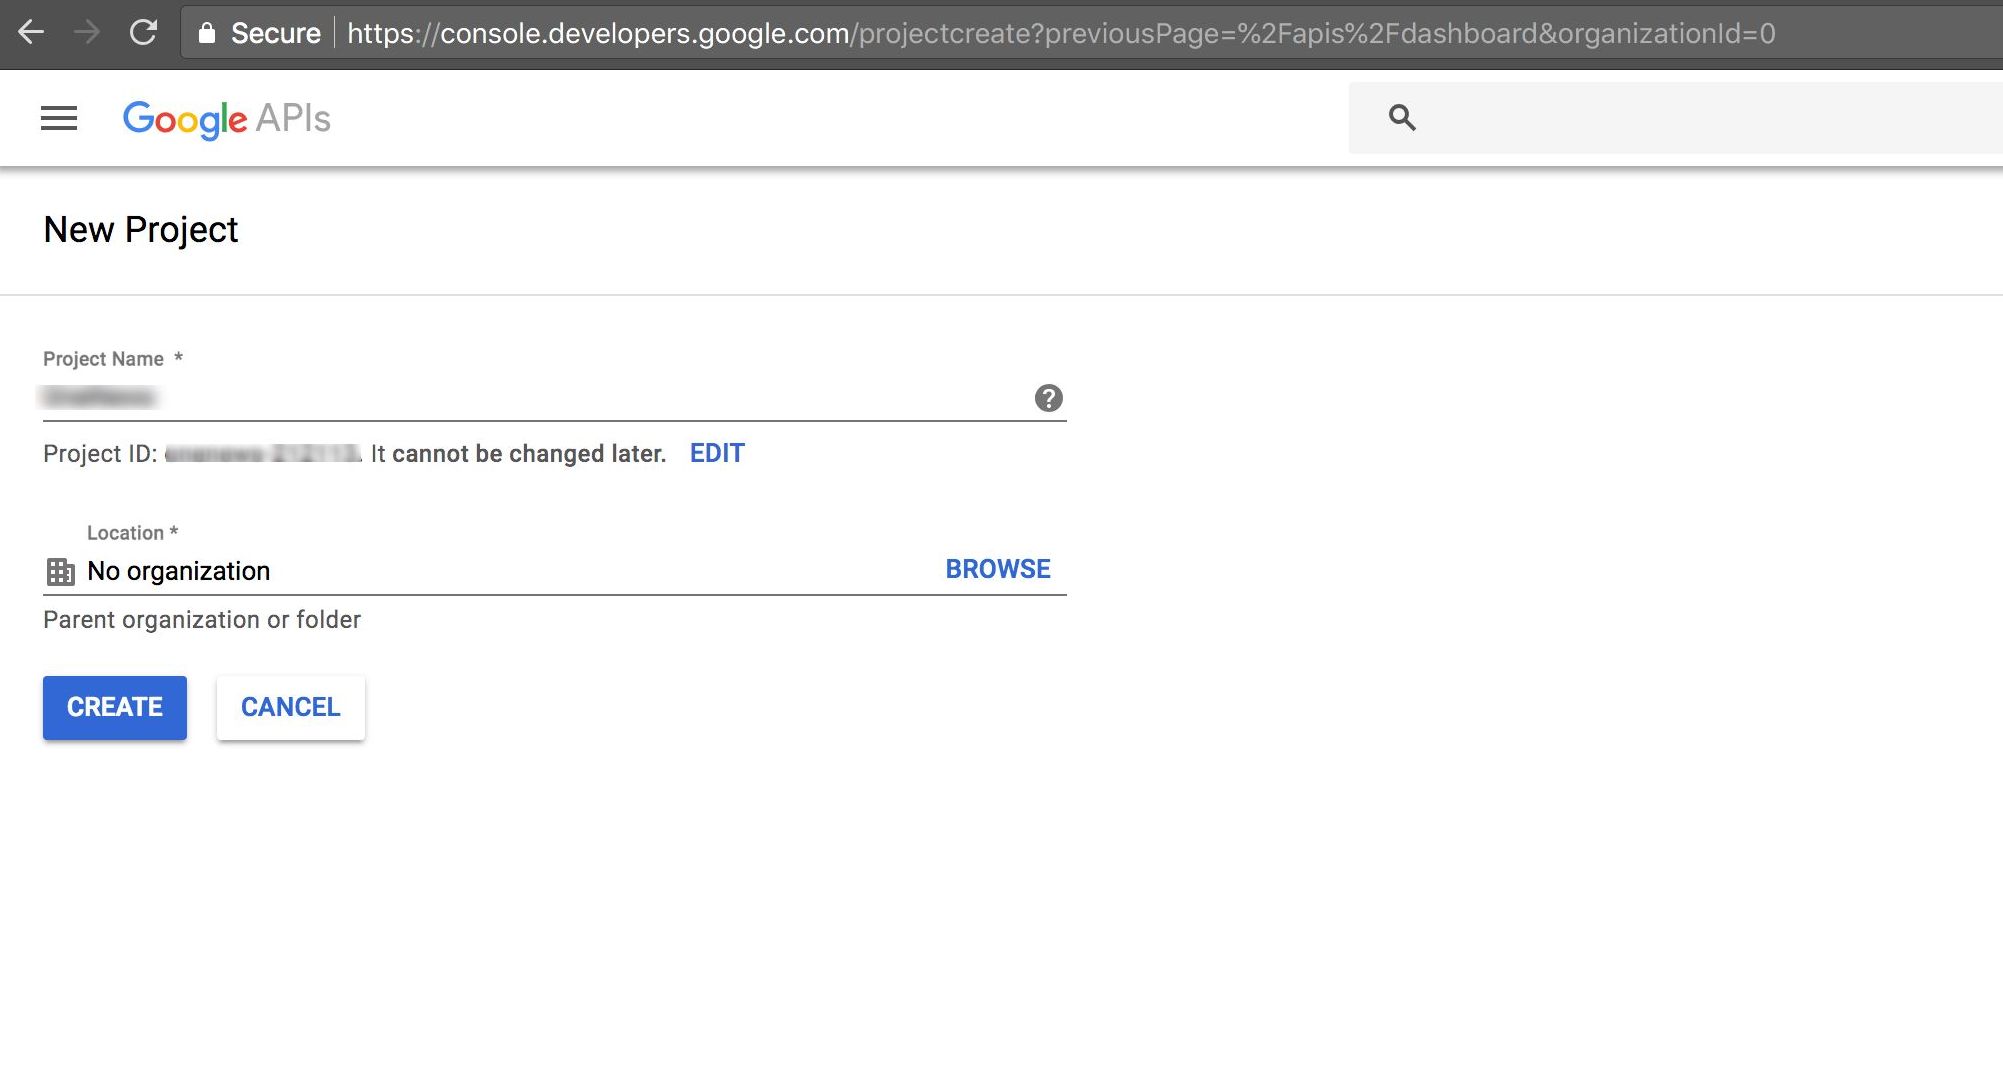
Step1: Create New Project
Go to https://console.developers.google.com/apis/dashboard and create a new project.

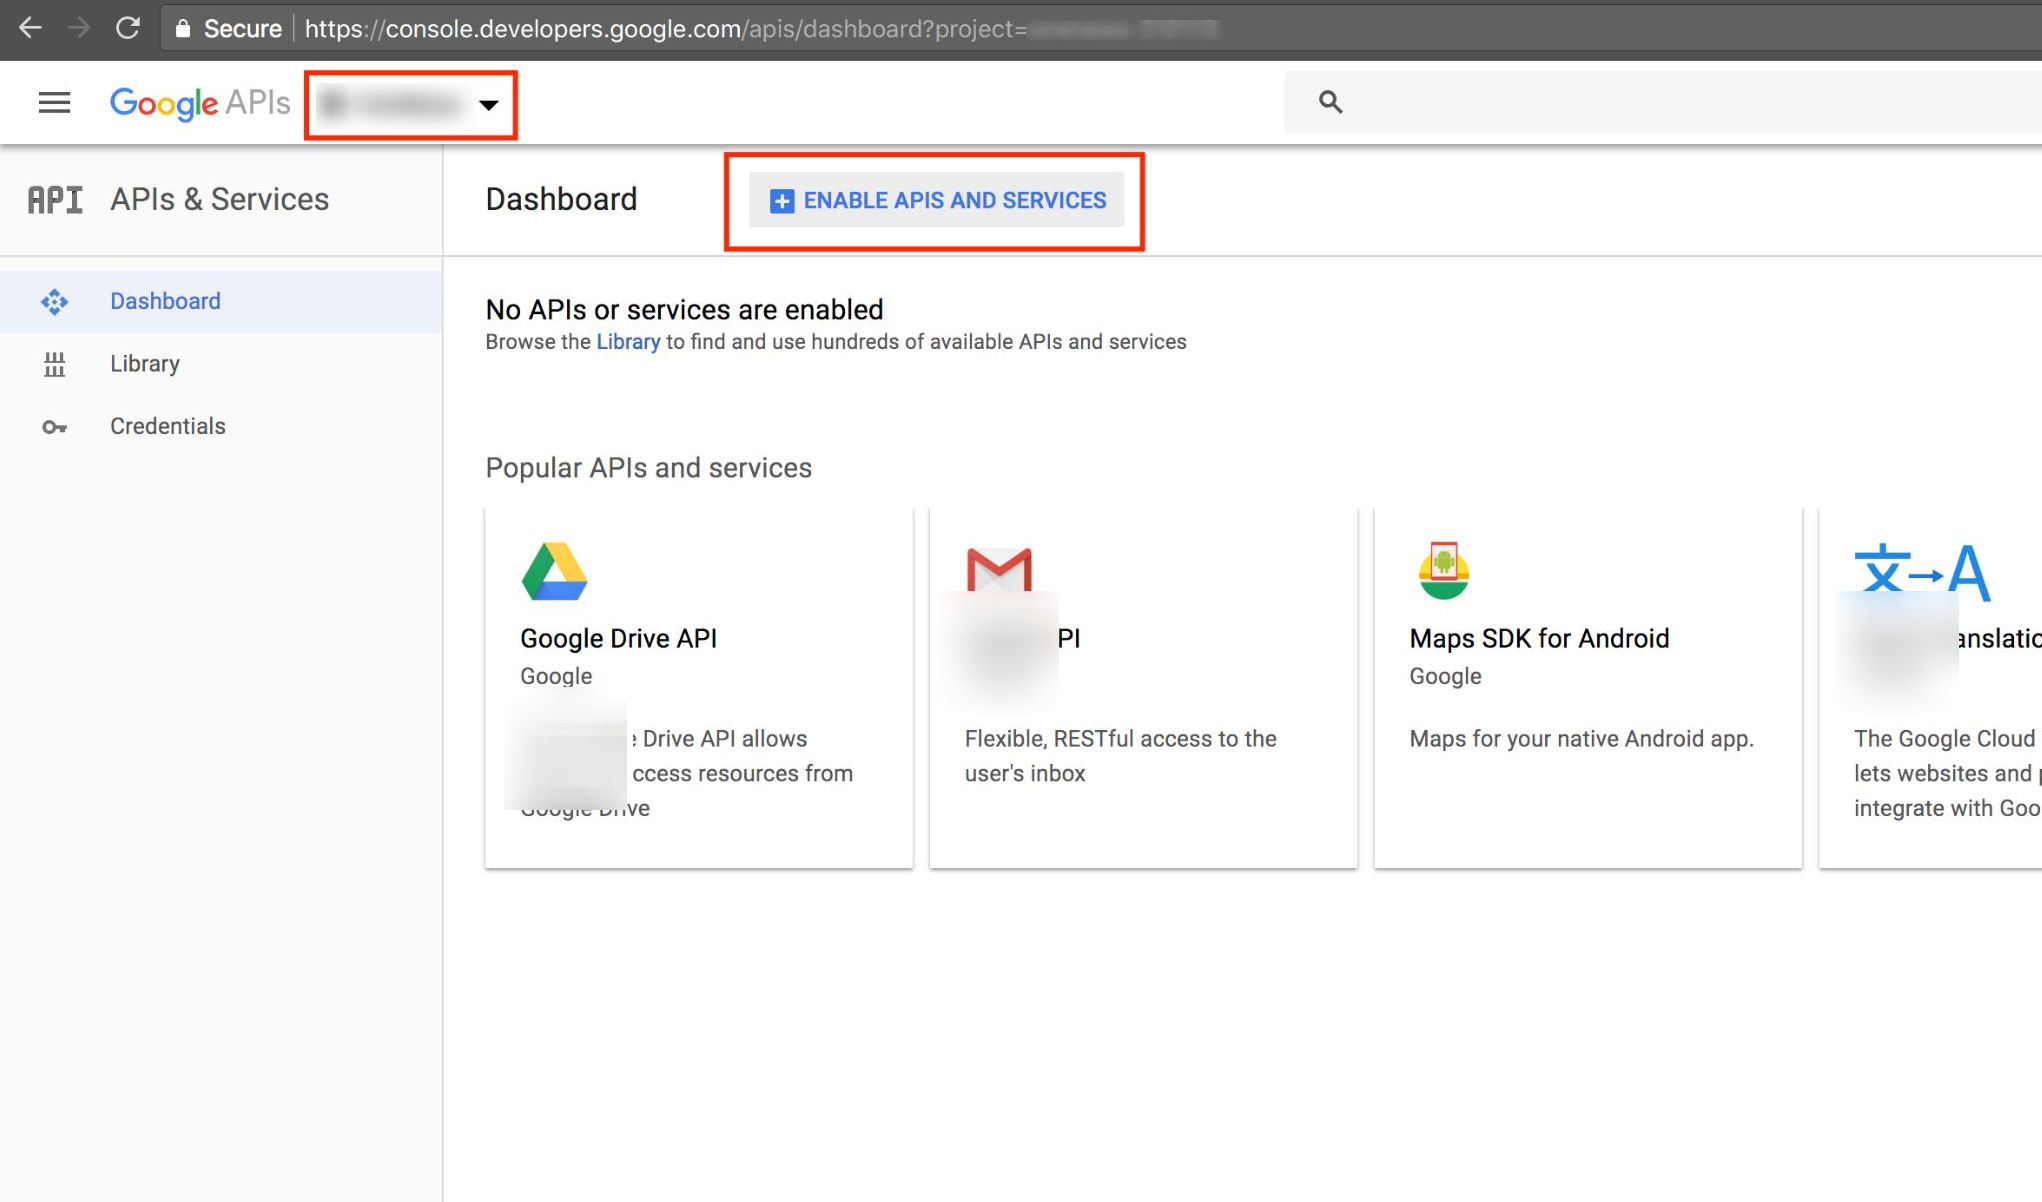
Step 2: How We Can Enable APIs and Services?
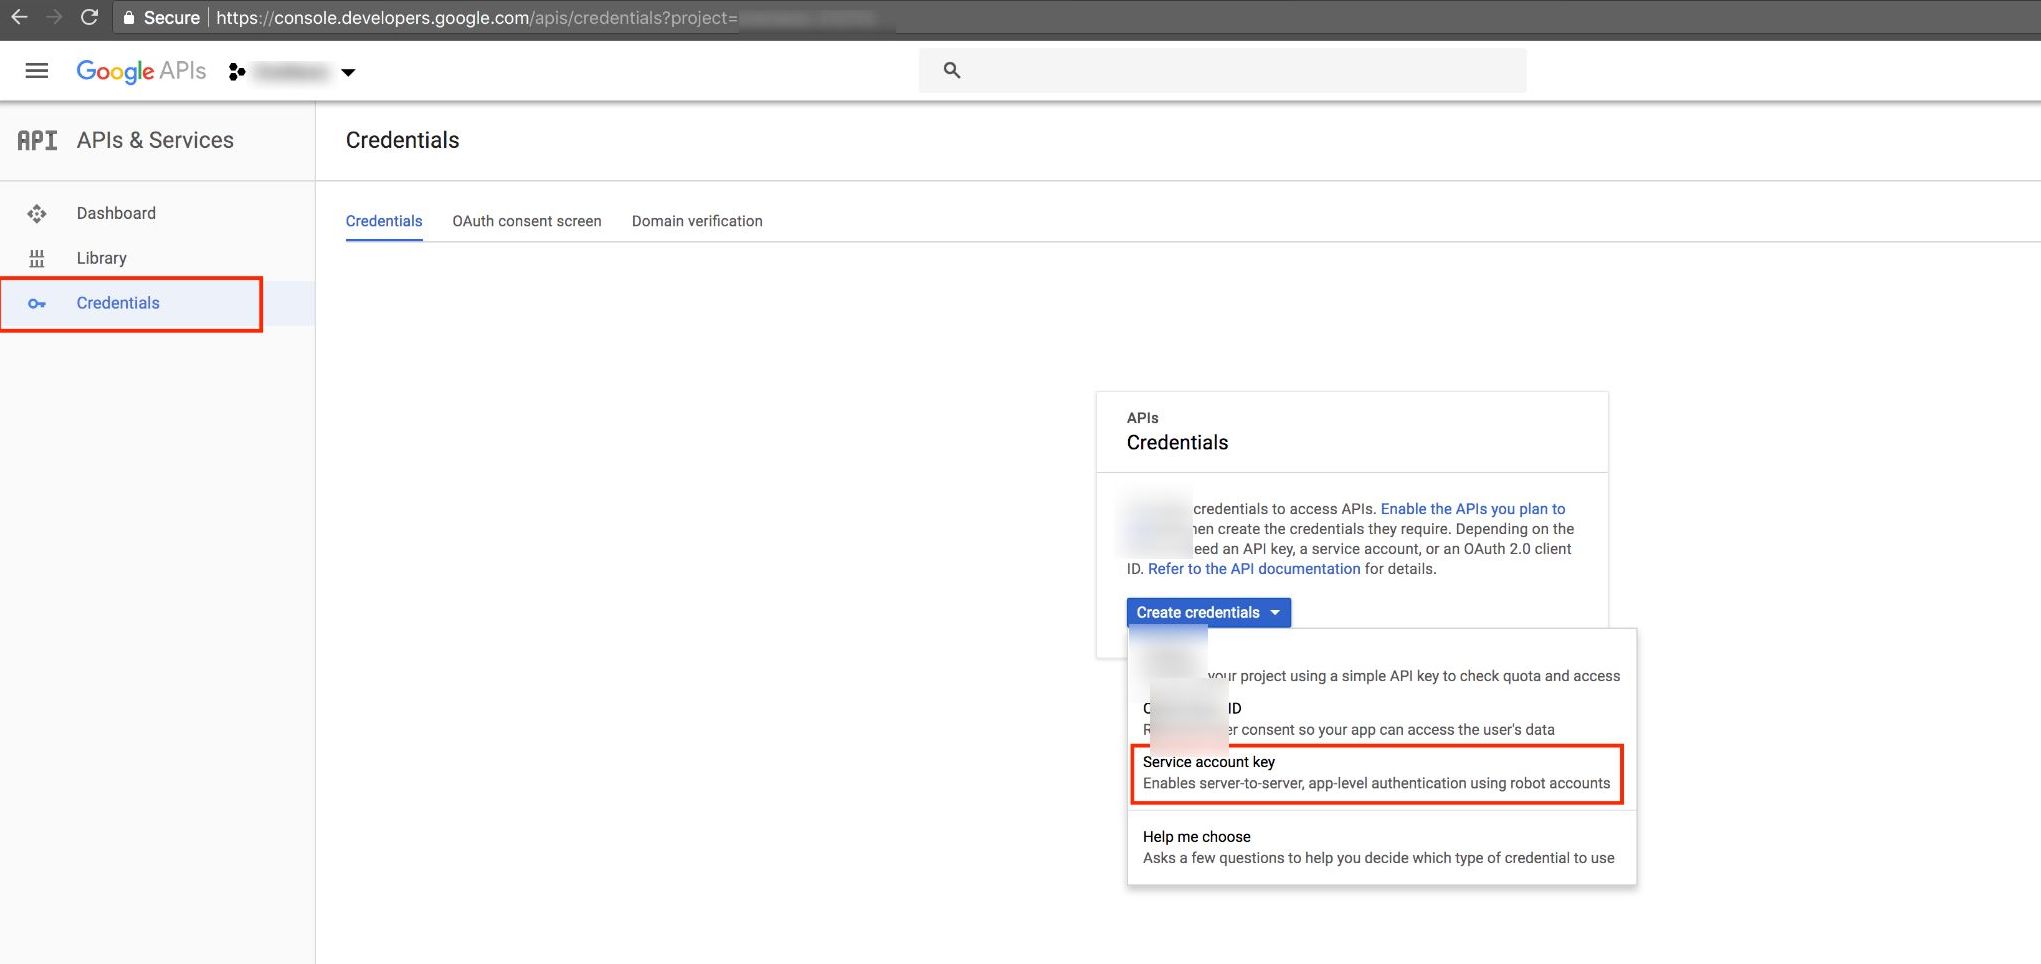
- Select your project and click on "ENABLE APIS AND SERVICES":
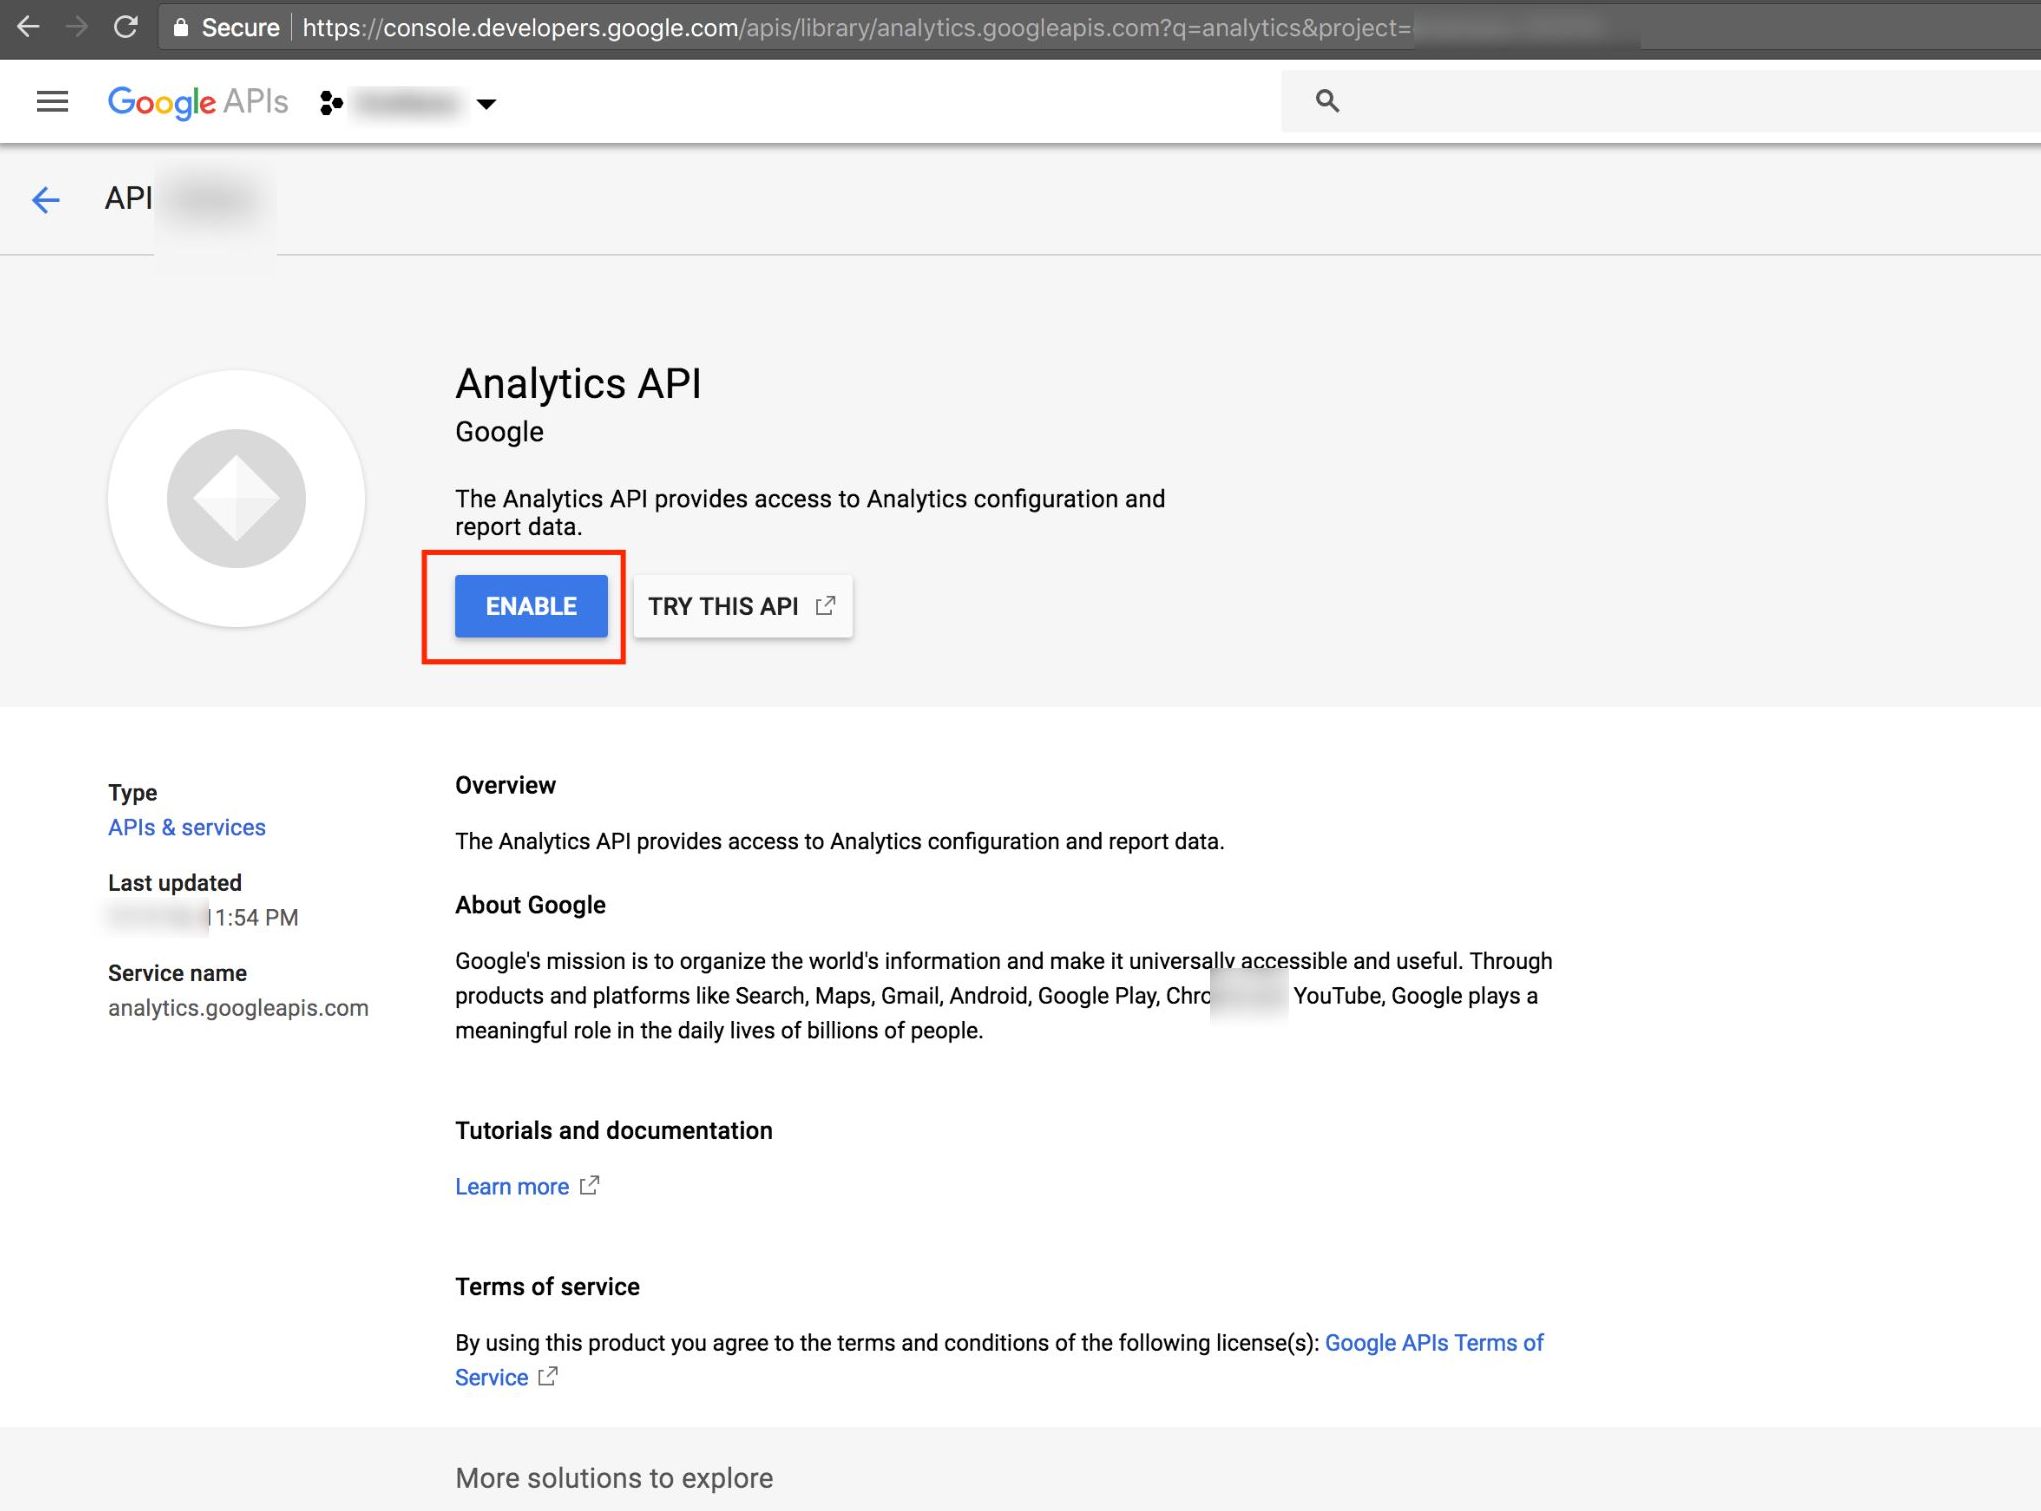
Step 3: Enable API

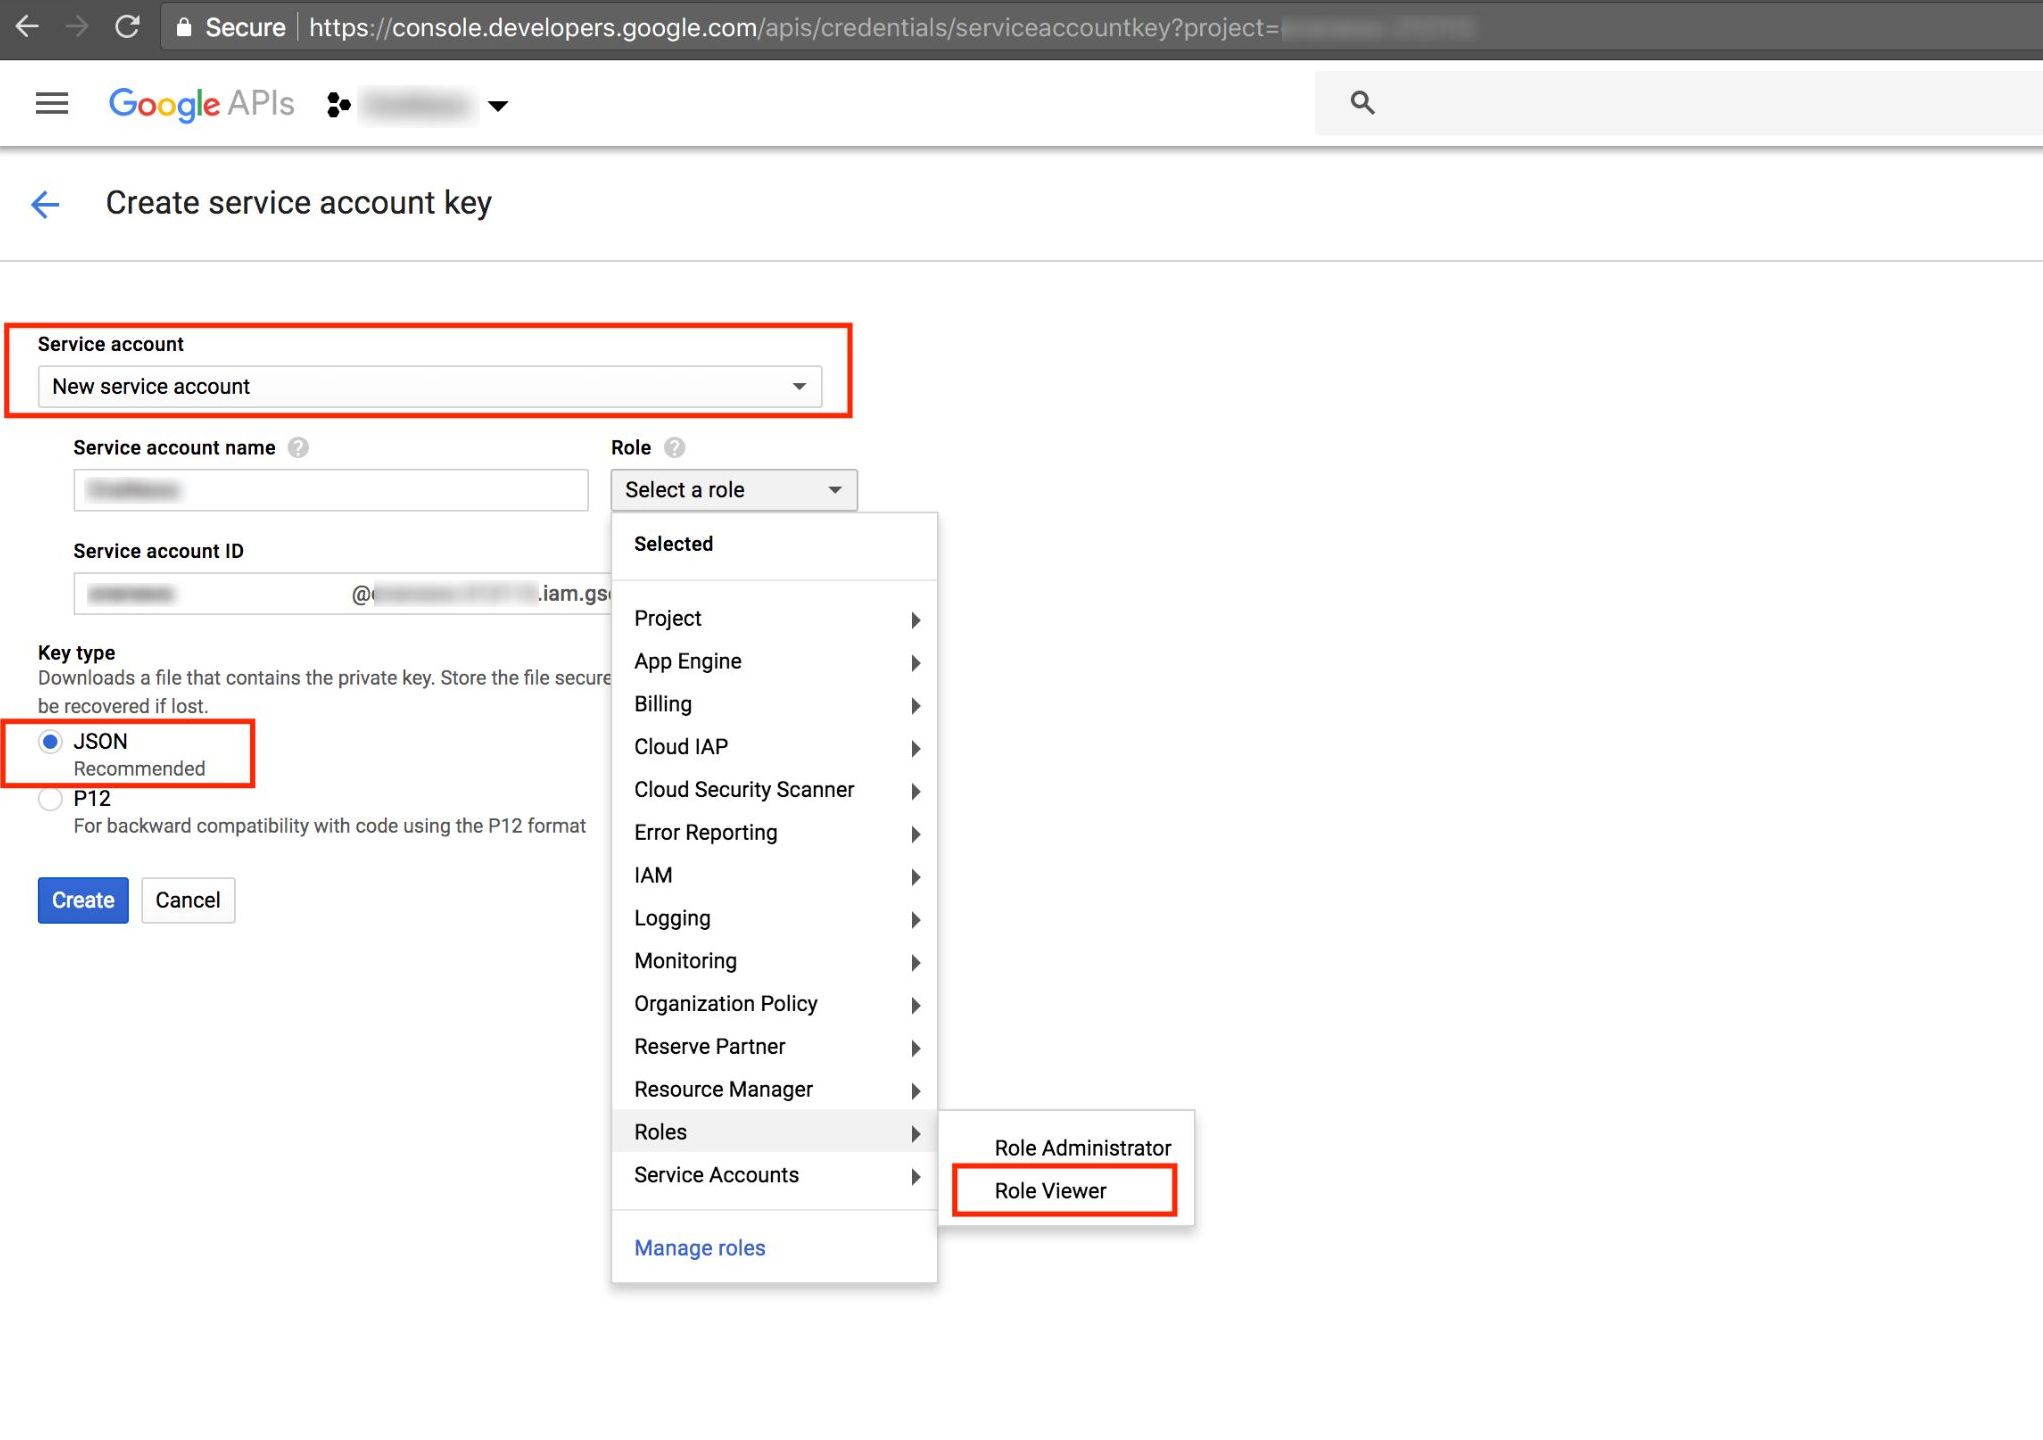
Step 4: Role Viewer
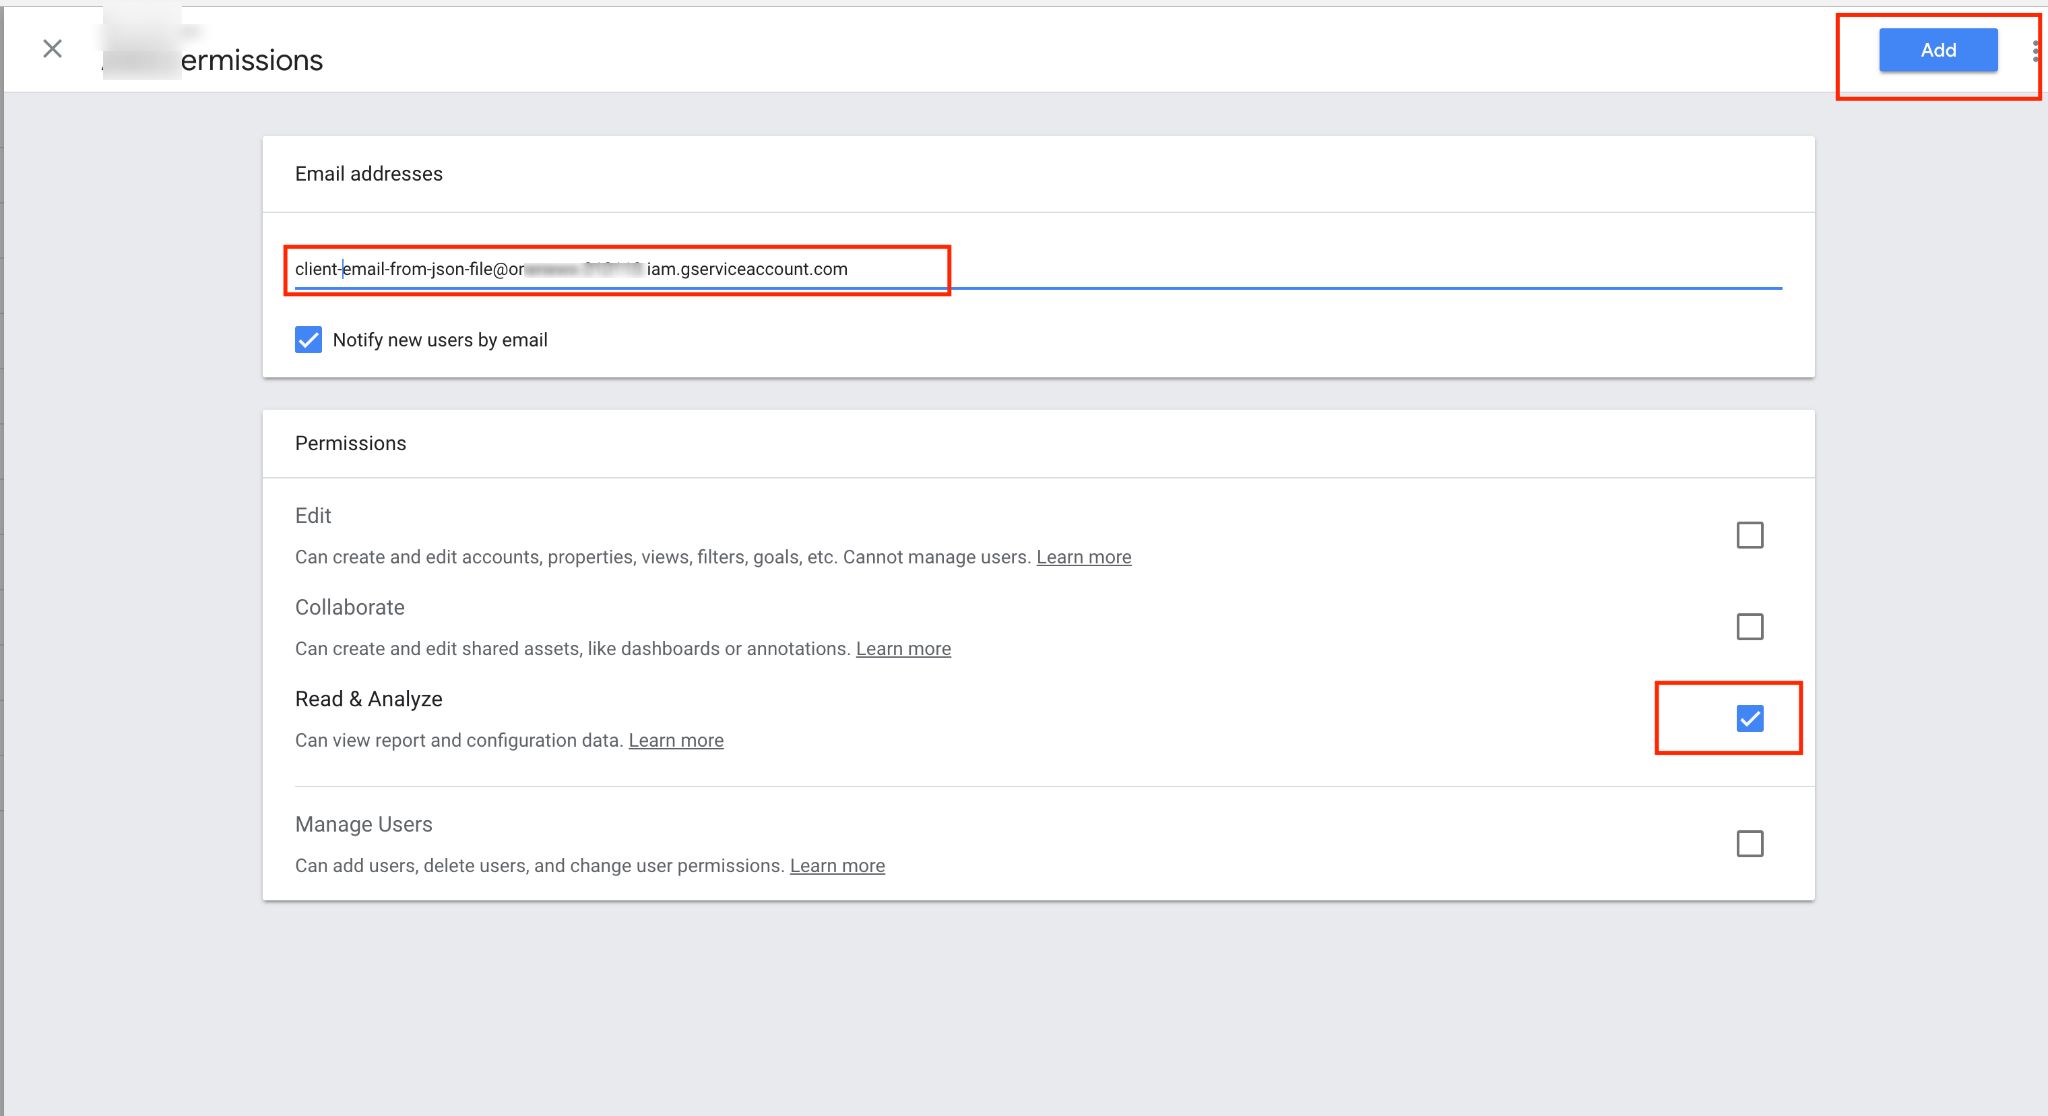
Generate service account key and select role Viewer
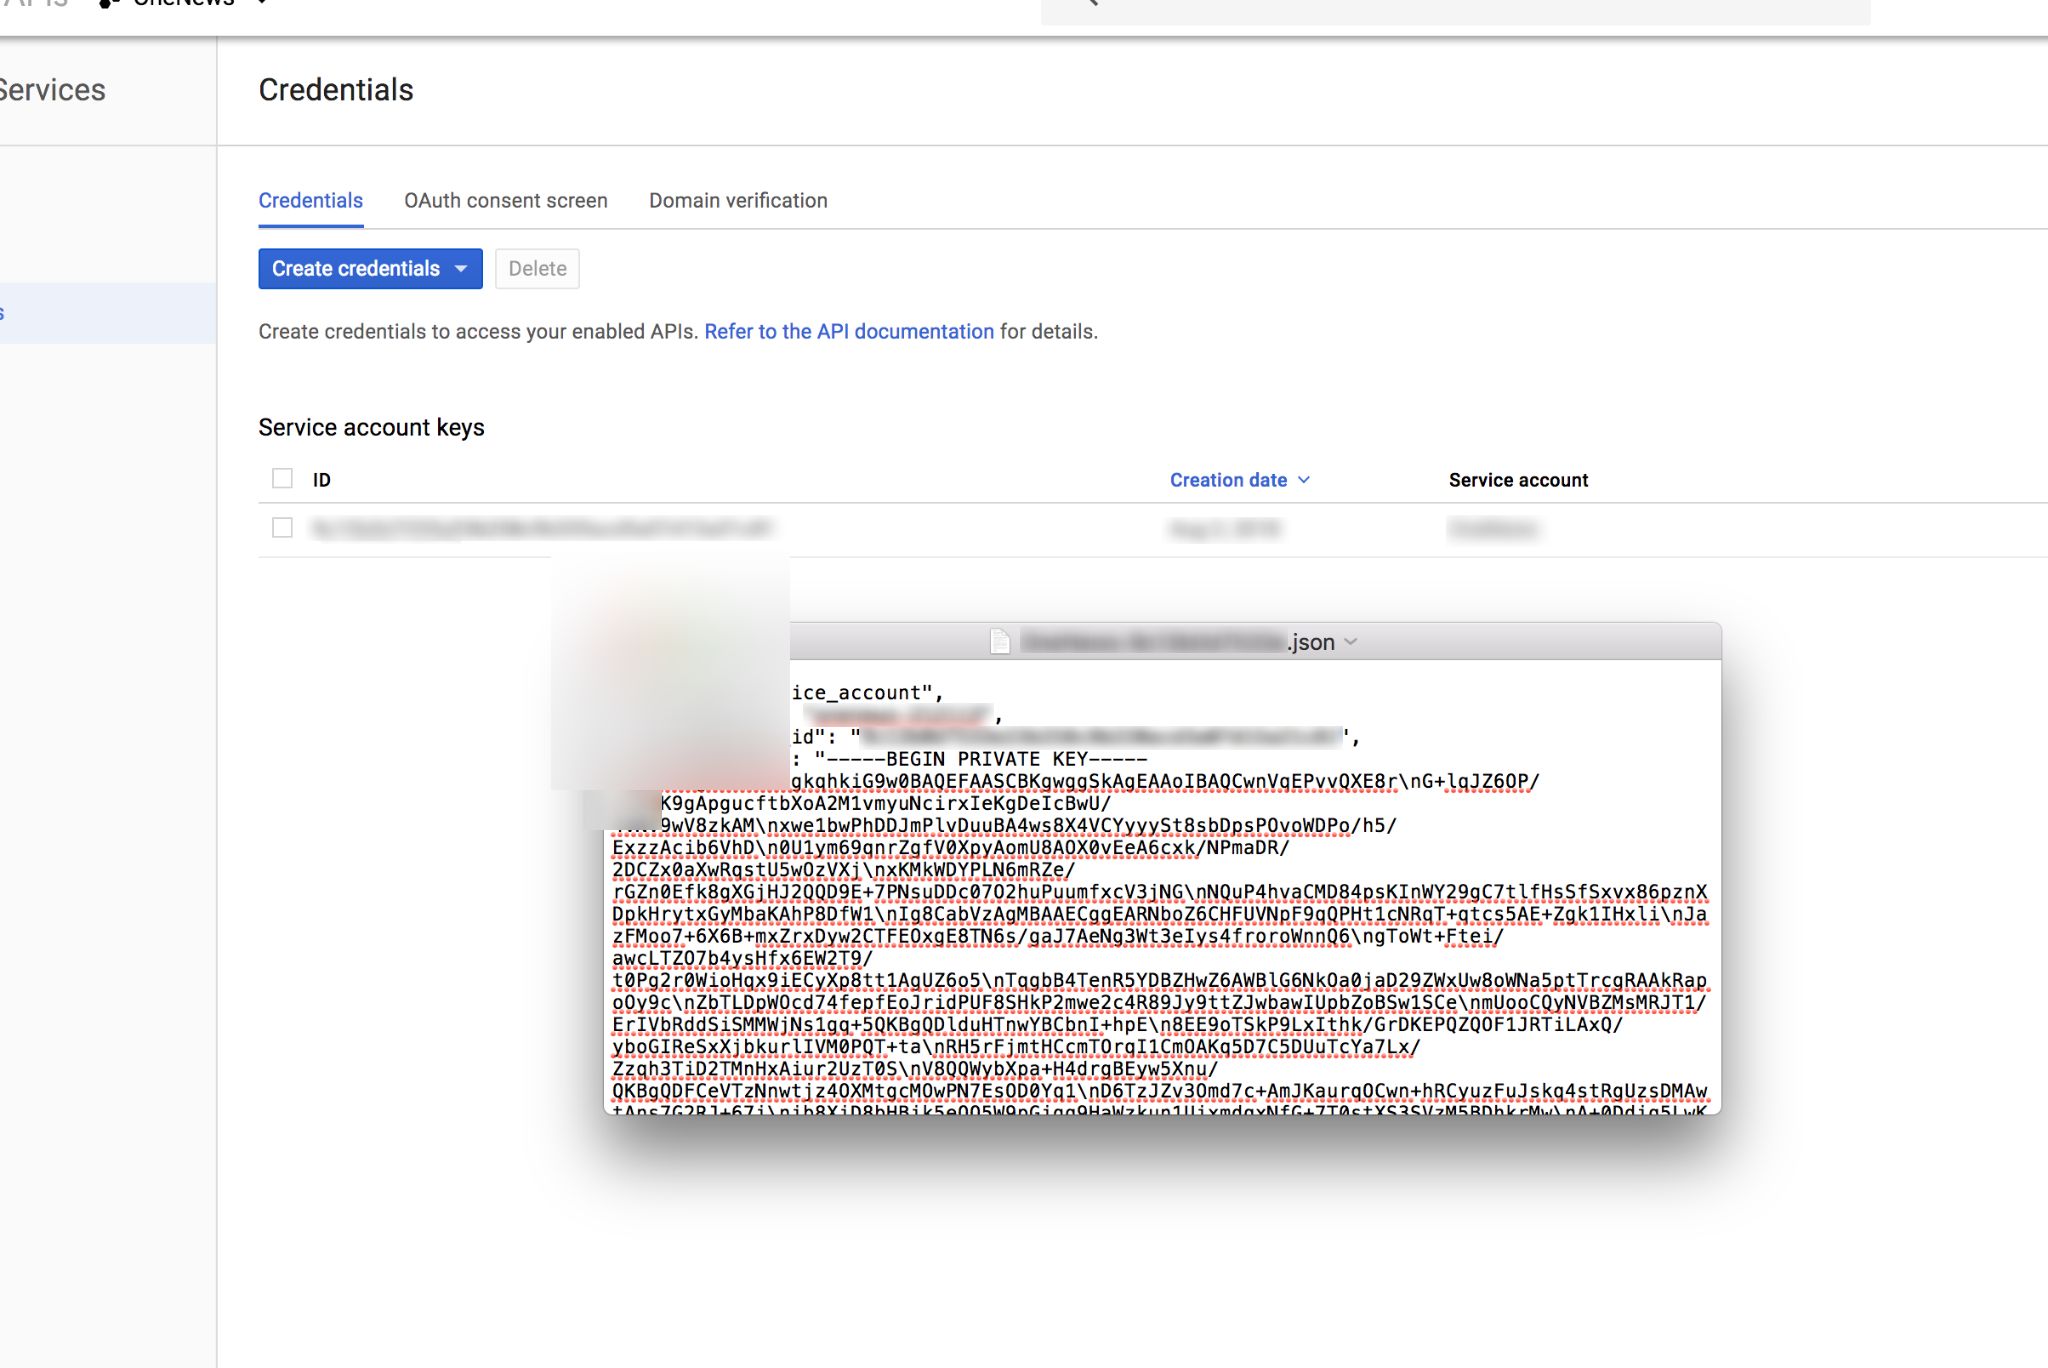
Step 5: Read JSON Content
Open JSON file and copy its content, then go to /admin/settings and update JSON credentials data for Analytics plugin:
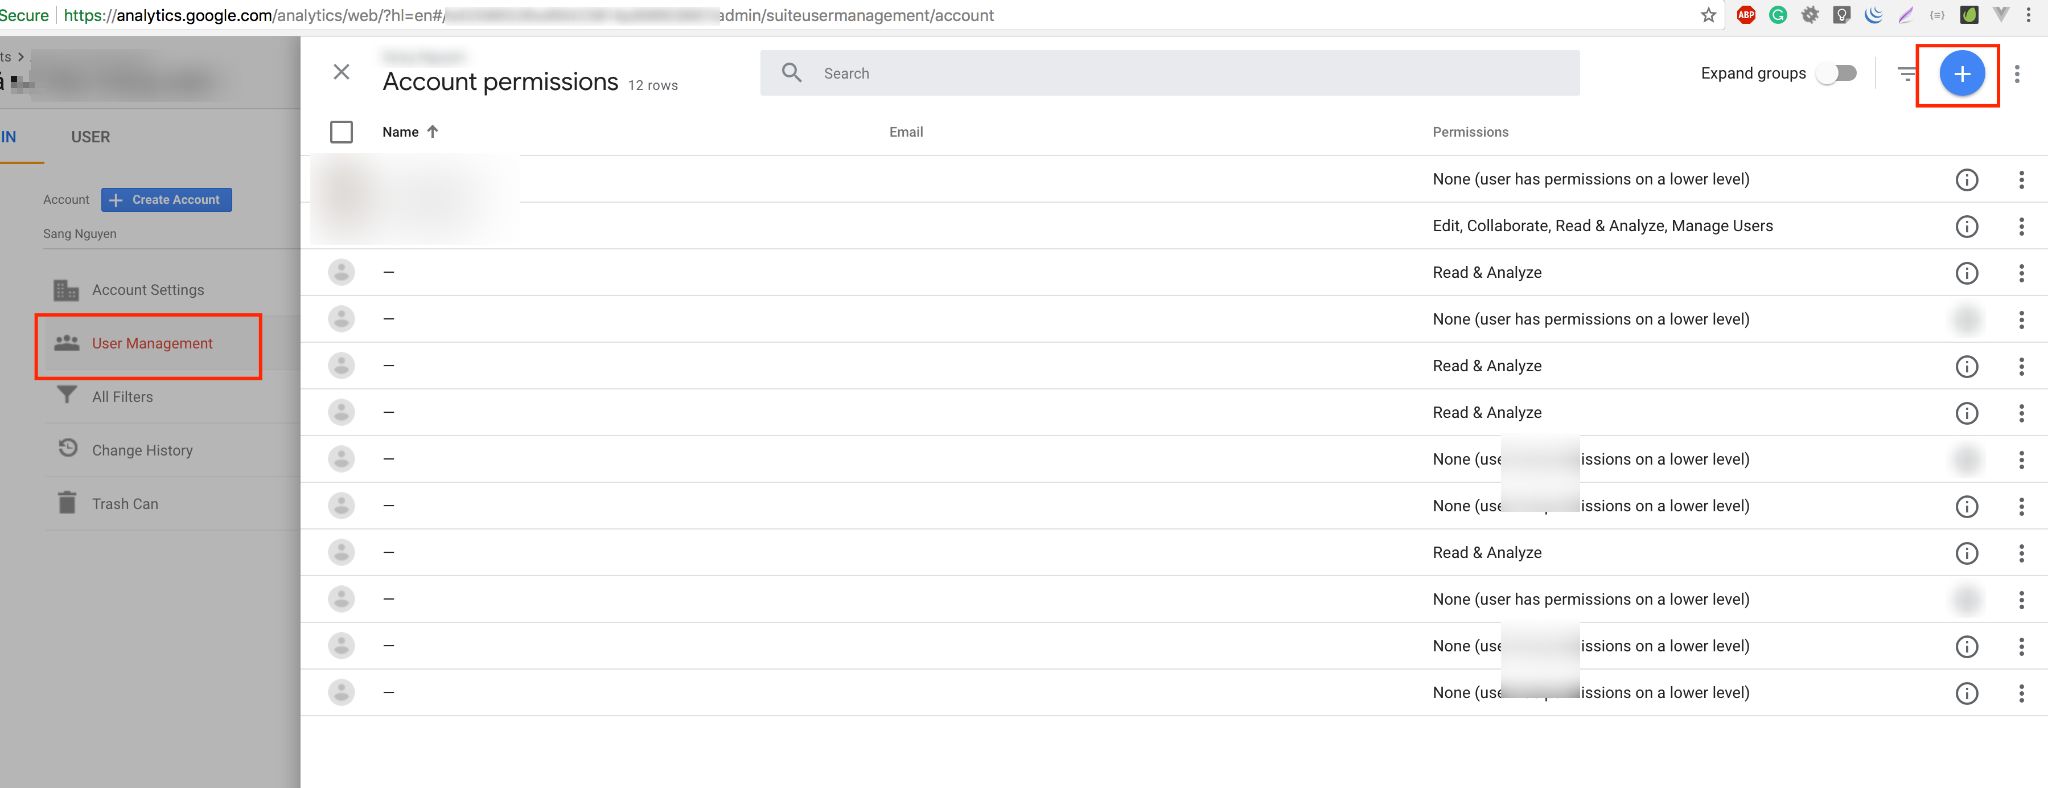
Step 6: Getting View ID
- Go to Google Analytics account: https://analytics.google.com/analytics/web/ . Click on "Admin" => "View Settings" and copy "View ID" number, then go to /admin/settings/general and tab "Google Analytics" and paste to field View ID.

Good Luck !