Most of the hosting servers are not optimizied for sending emails. For sending email we need a specialize email server, that will allow to manage spam, view logs and ensure deliverability.
Send grid is one of the most popular email relay system that improves reliability and deliverability. Other services like Amazon SES and Mailgun can help you accomplish the same thing, but Sendgrid is great among them which provides you the free plan with 100 emails/day forever.
In this article we wil explain you how to configure the SendGrid to our ItechSaaS cms.
Signup for a SendGrid account
The first step is to signup an account. SendGrid lets you send up to 40,000 emails for free over your first 30 days. After that, you can send up to 100 emails per day for free forever. You can see the SendGrid plan offerings from their pricing page. Once you entered your information sendgrid send you an verification email to verify your email account. Click the button to “Confirm Email Address” within your email to verify your account before moving on to the following steps. 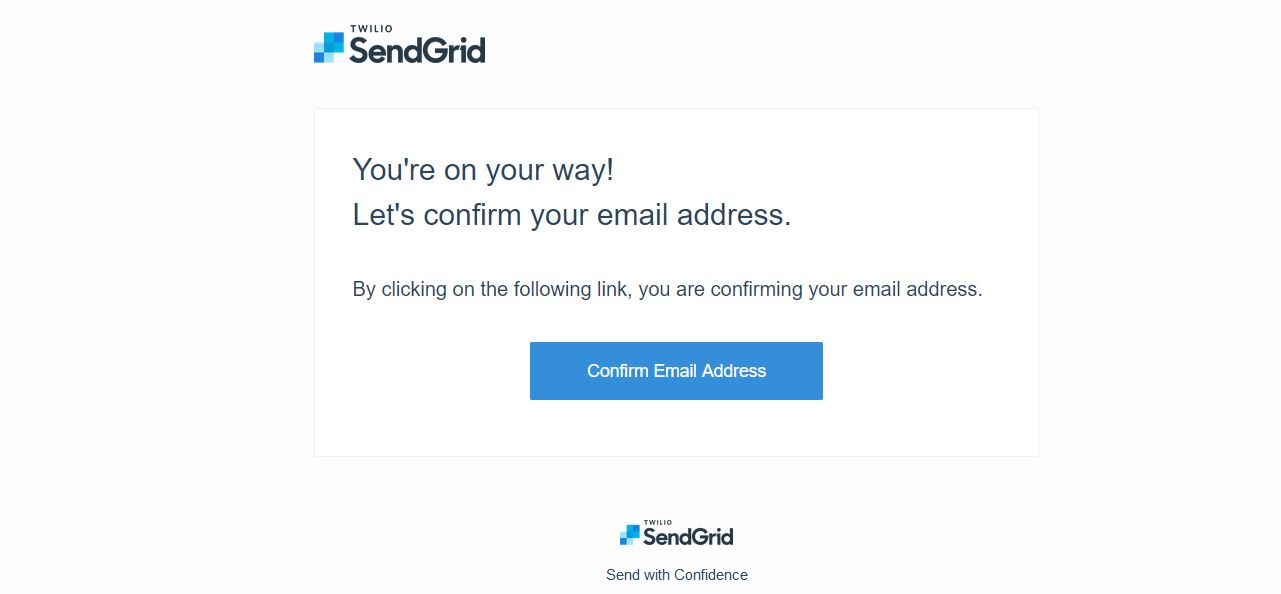
Domain Validation for SendGrid
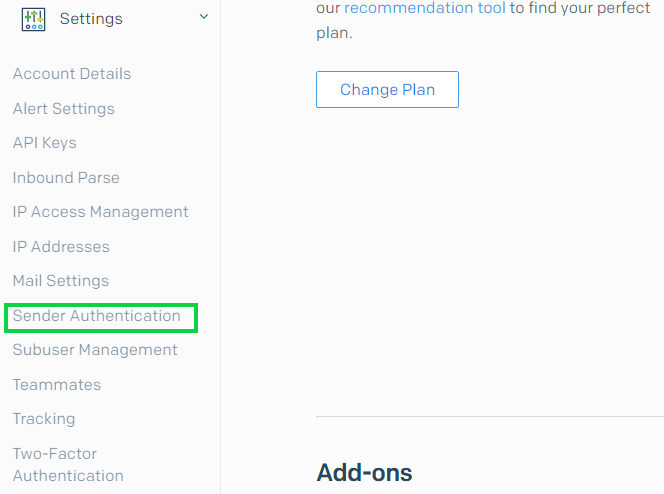
- Login to SendGrid
- Select Settings
- Click Sender Aunthentication
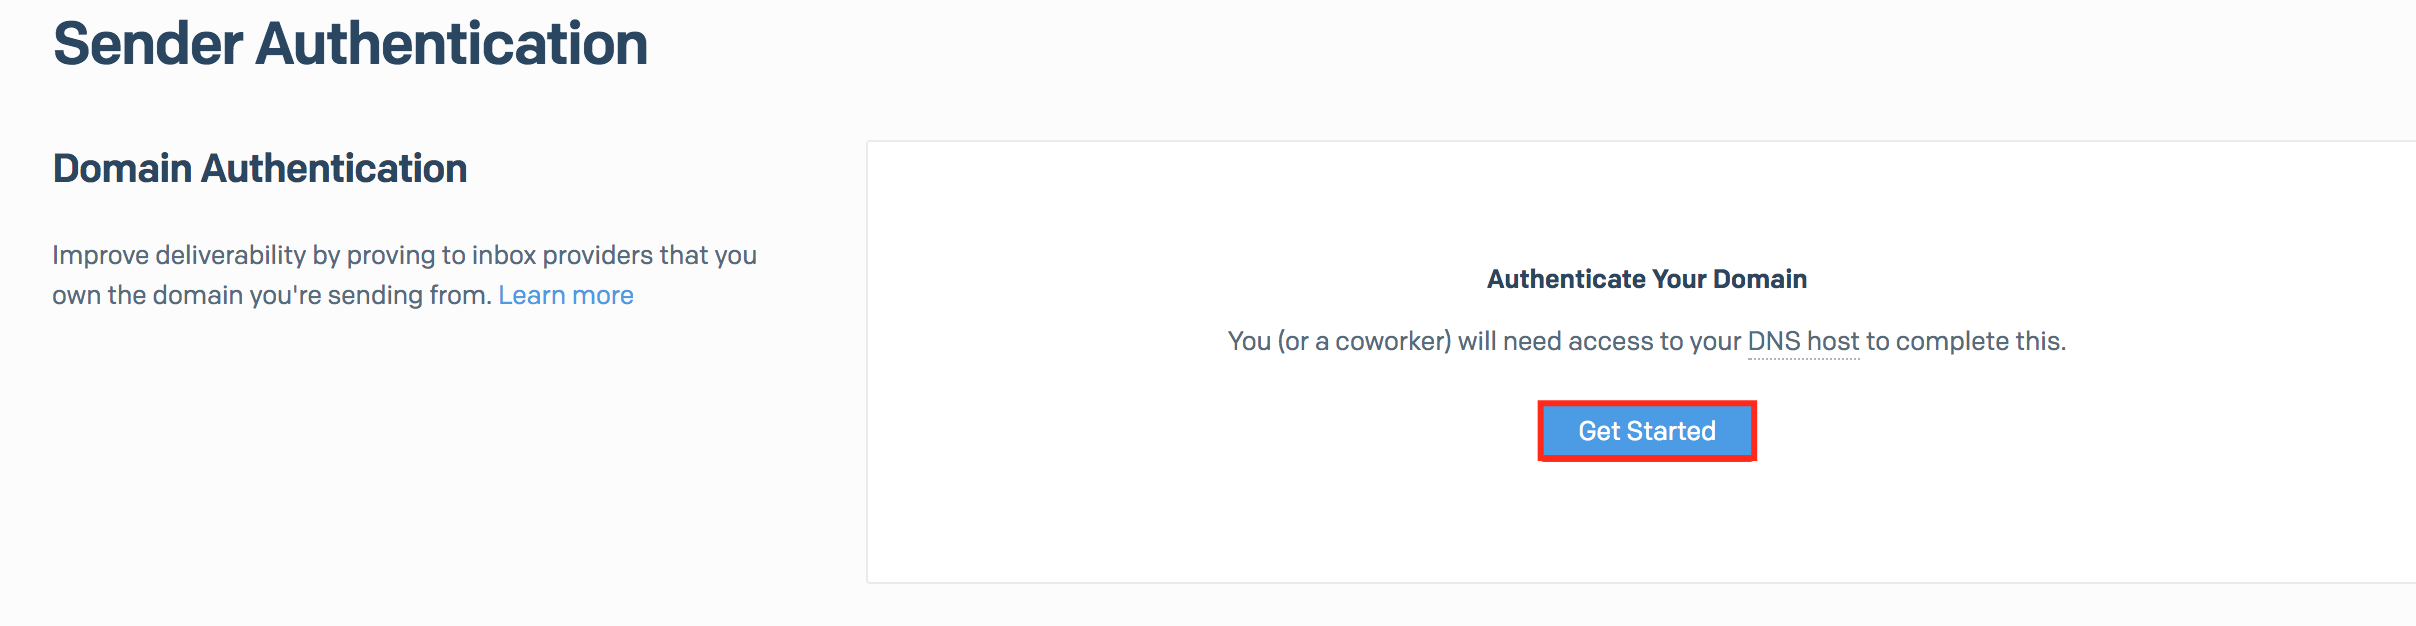
Step 1: Domain Authentication
- On the Sender Authentication page, look to the Domain Authentication settings
- Click Get Started in the Authenticate Your Domain box.
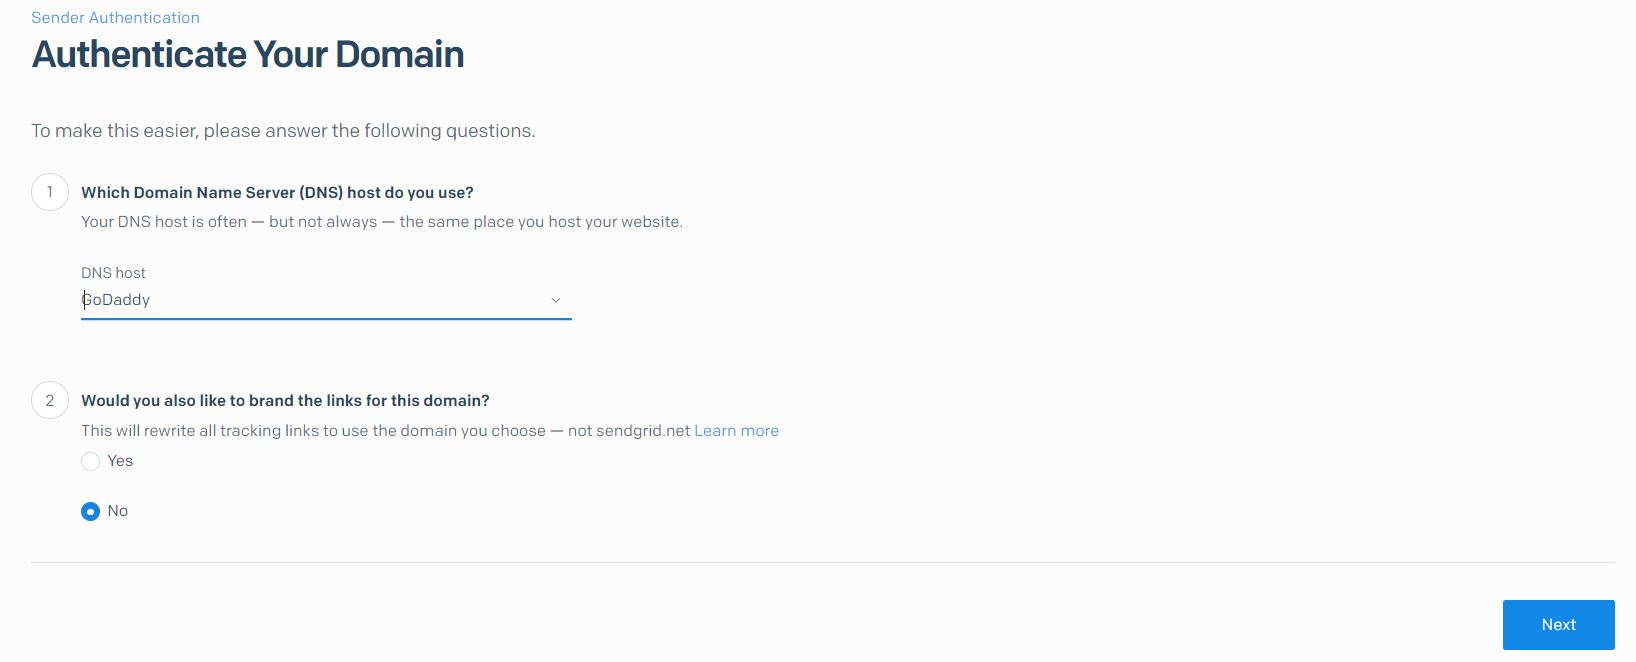
Step2: DNS host Selection
- Select your DNS host from the dropdown menu
- Select whether or not you would like to "whitelabel" emails being sent through SendGrid to show your own domain. For the purposes of this article, we selected "no."
Step3: Authenticate your domain
- Now enter the domain from which you would like to send emails.
- Use the preview provided by SendGrid to ensure the email address appears as you would like.
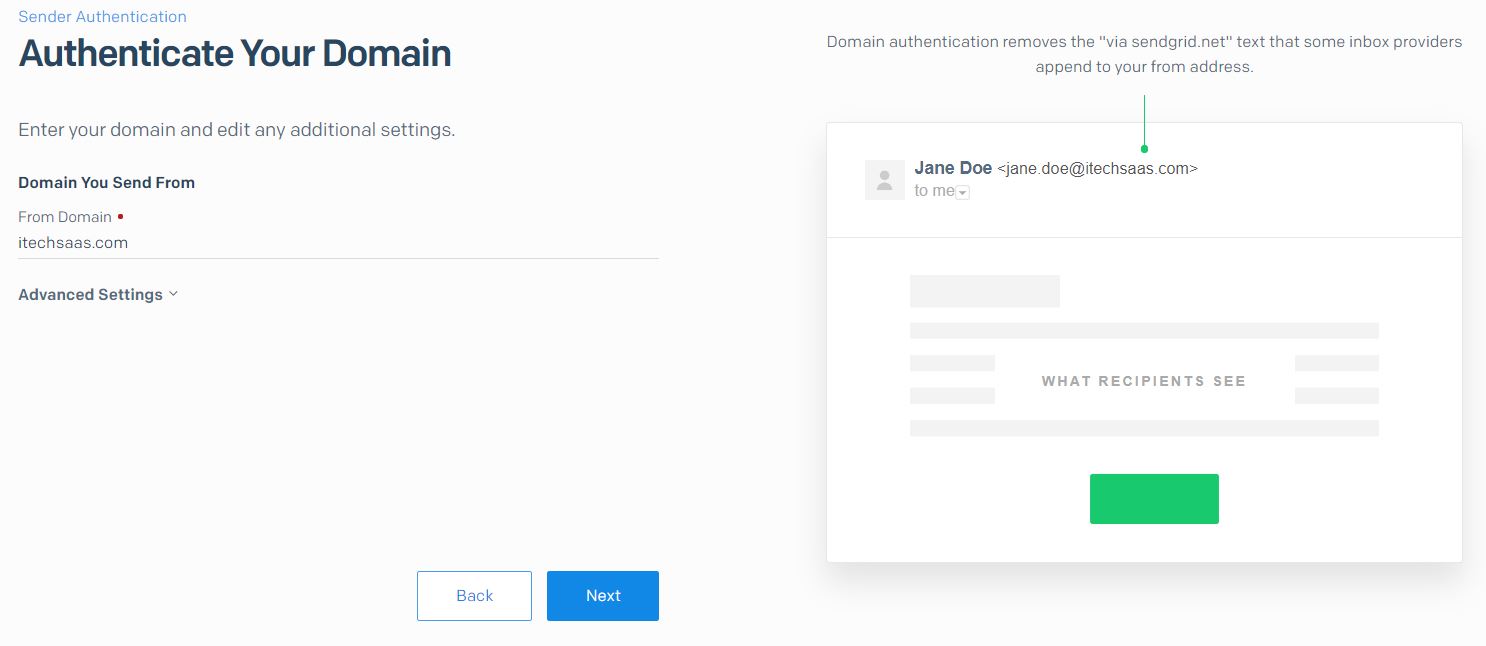
- Use the preview provided by SendGrid to ensure the email address appears as you would like.
- Click Next
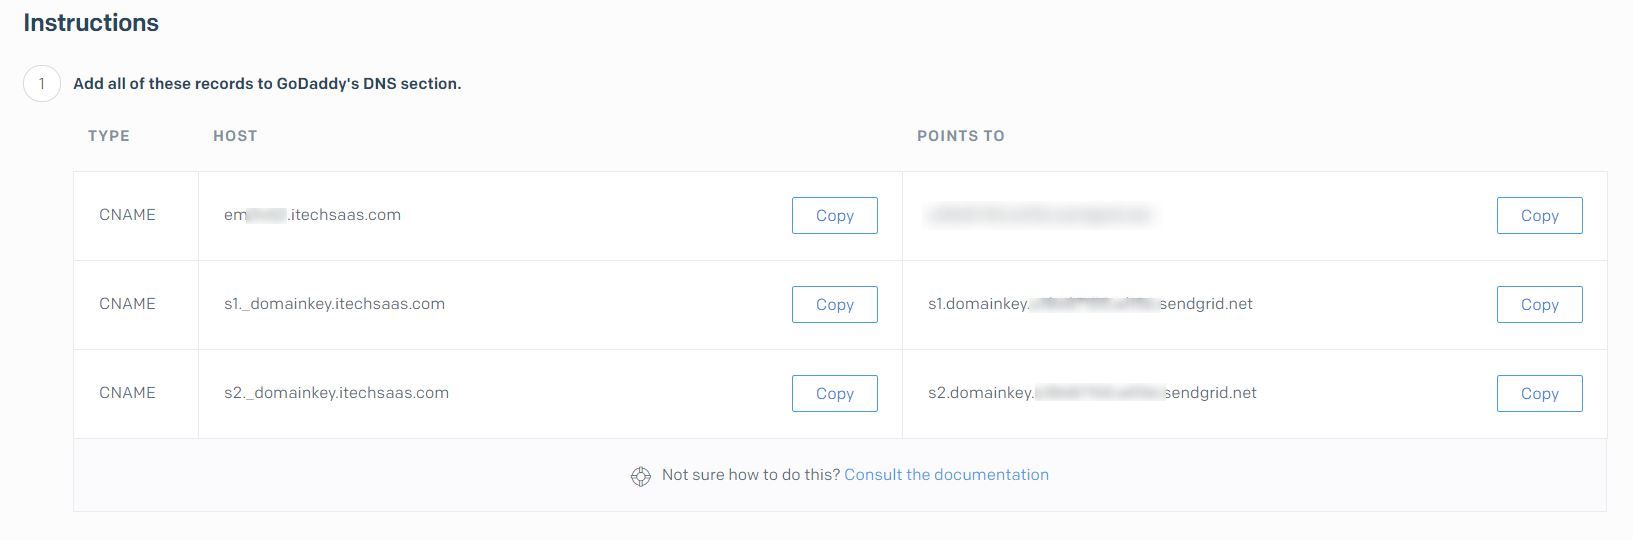
- SendGrid will now display a list of CNAME records to add to your DNS host
- Leave this page open for easy reference in the next step.
step 4: Verify DNS Record
- Ensure you have your SendGrid DNS records from Step 2
- Copy the Host and Value entries over to your DNS host
- There will be multiple records that all need to be added
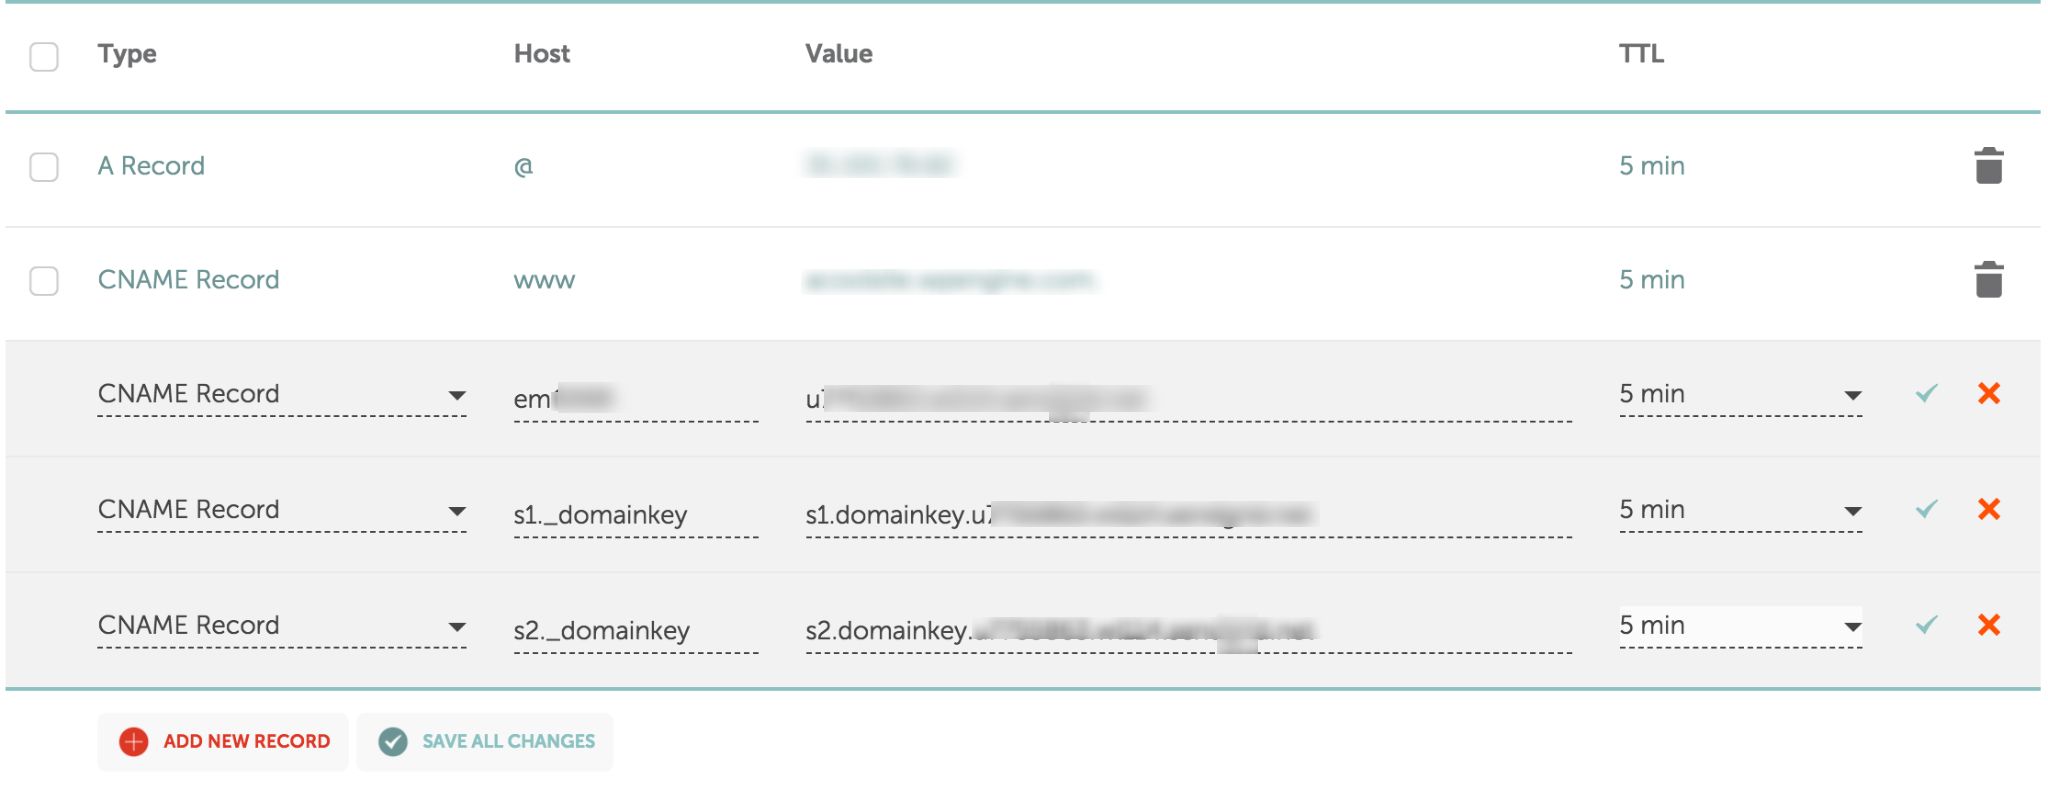
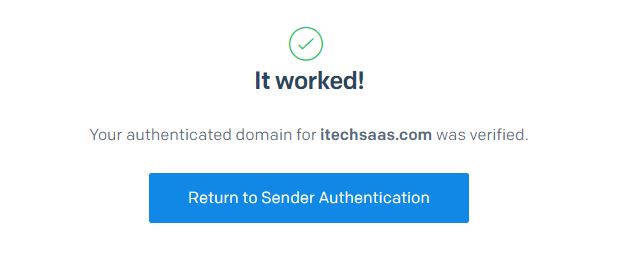
After you have added the records to your DNS host, switch back to SendGrid and click the Verify.SendGrid will then check the DNS records and display a green checkmark if the settings are correct.
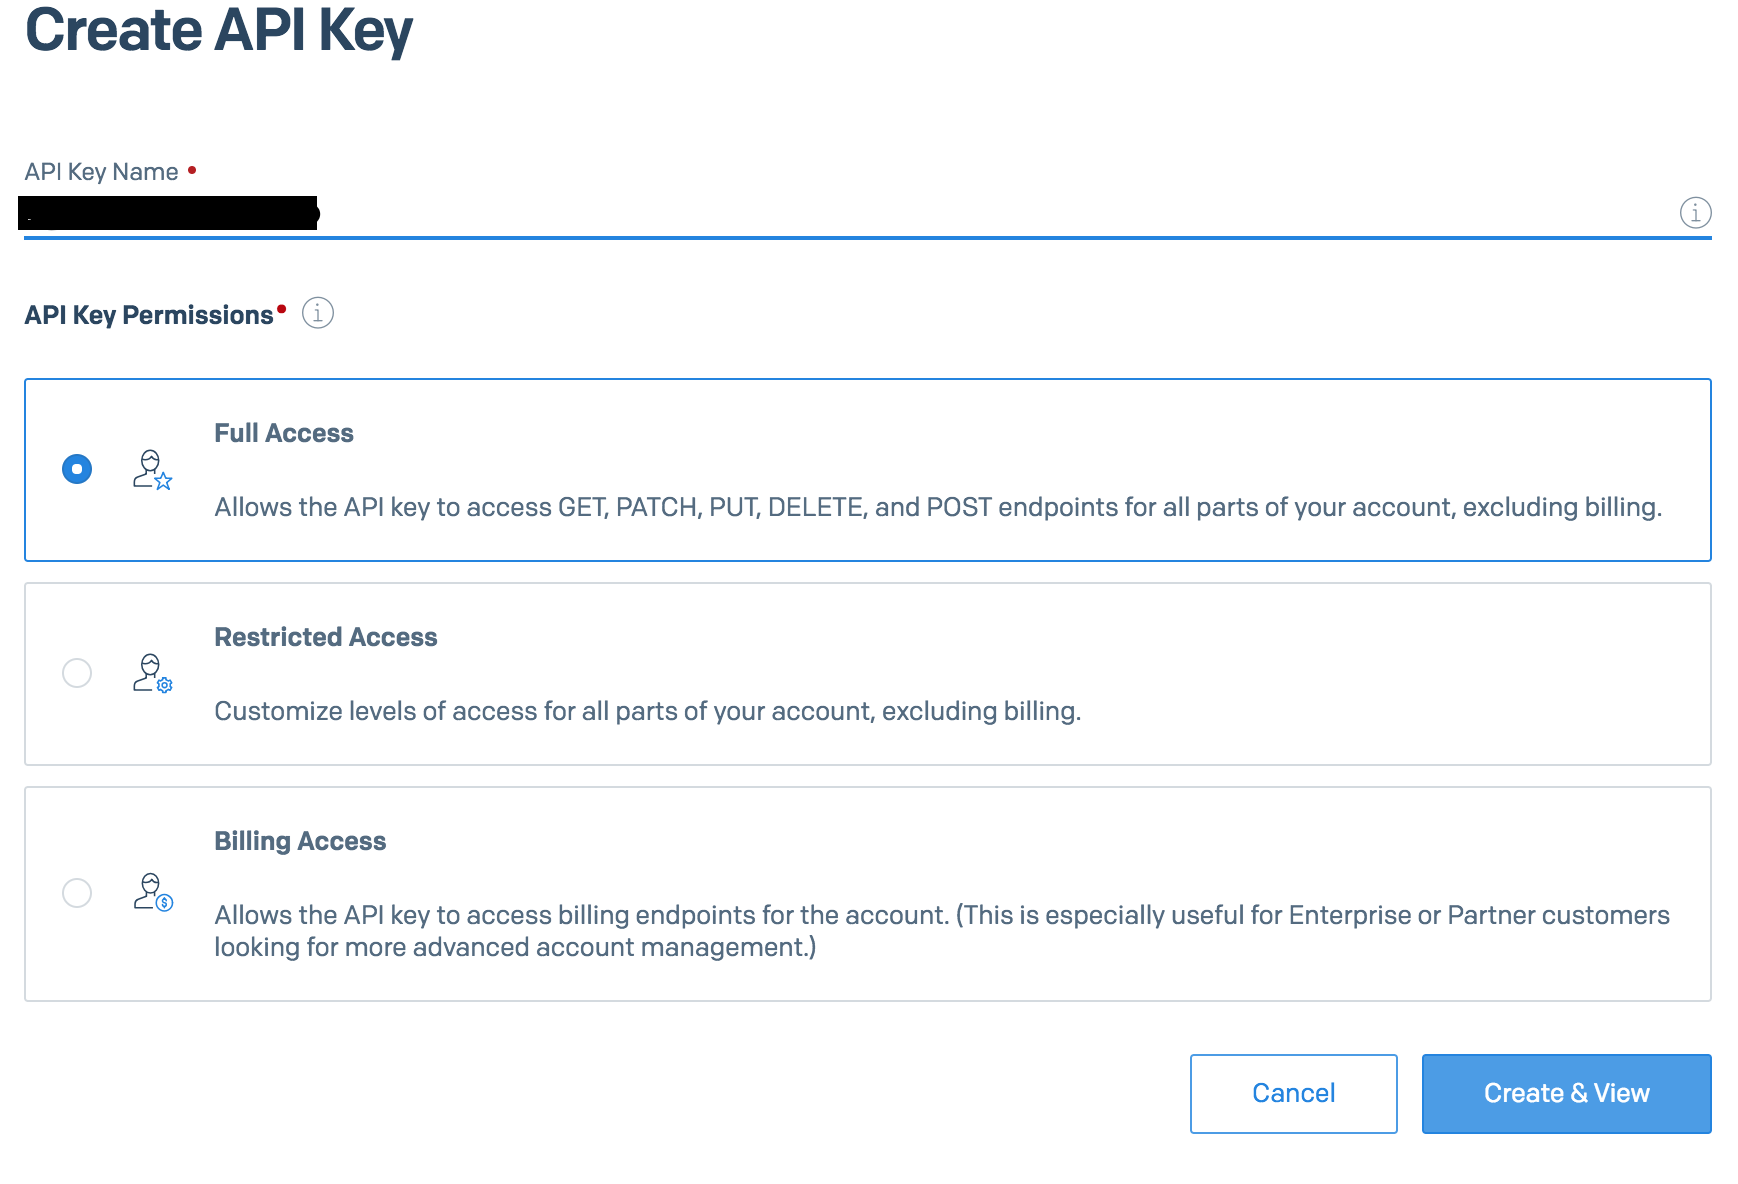
Create API key
- SendGrid will display your API key, it will look like a long randomized string of characters
- NOTE: For security purposes, SendGrid cannot display the API key to you more than once. Be sure to save your API key in a safe place.
Create SMTP Relay
- Select Email API
- Click Integration Guide
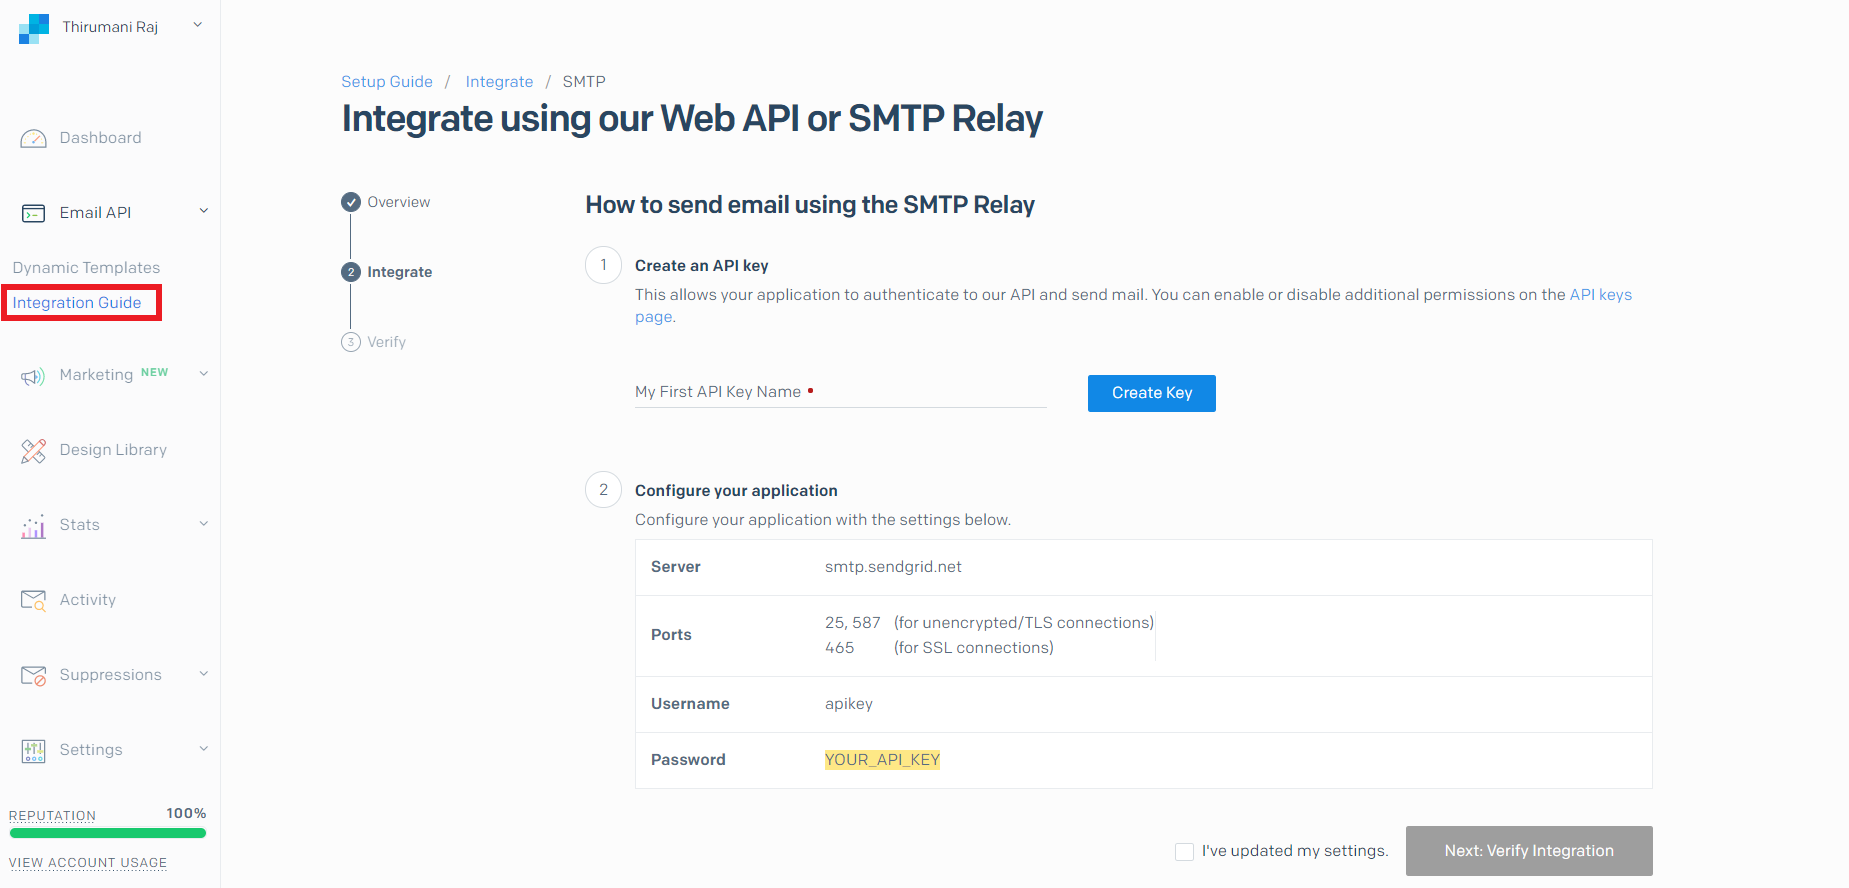
Type the apikey name and click create key, Some randomized long string characters generated and this would be the password for the smtp settings and the username is "apikey"
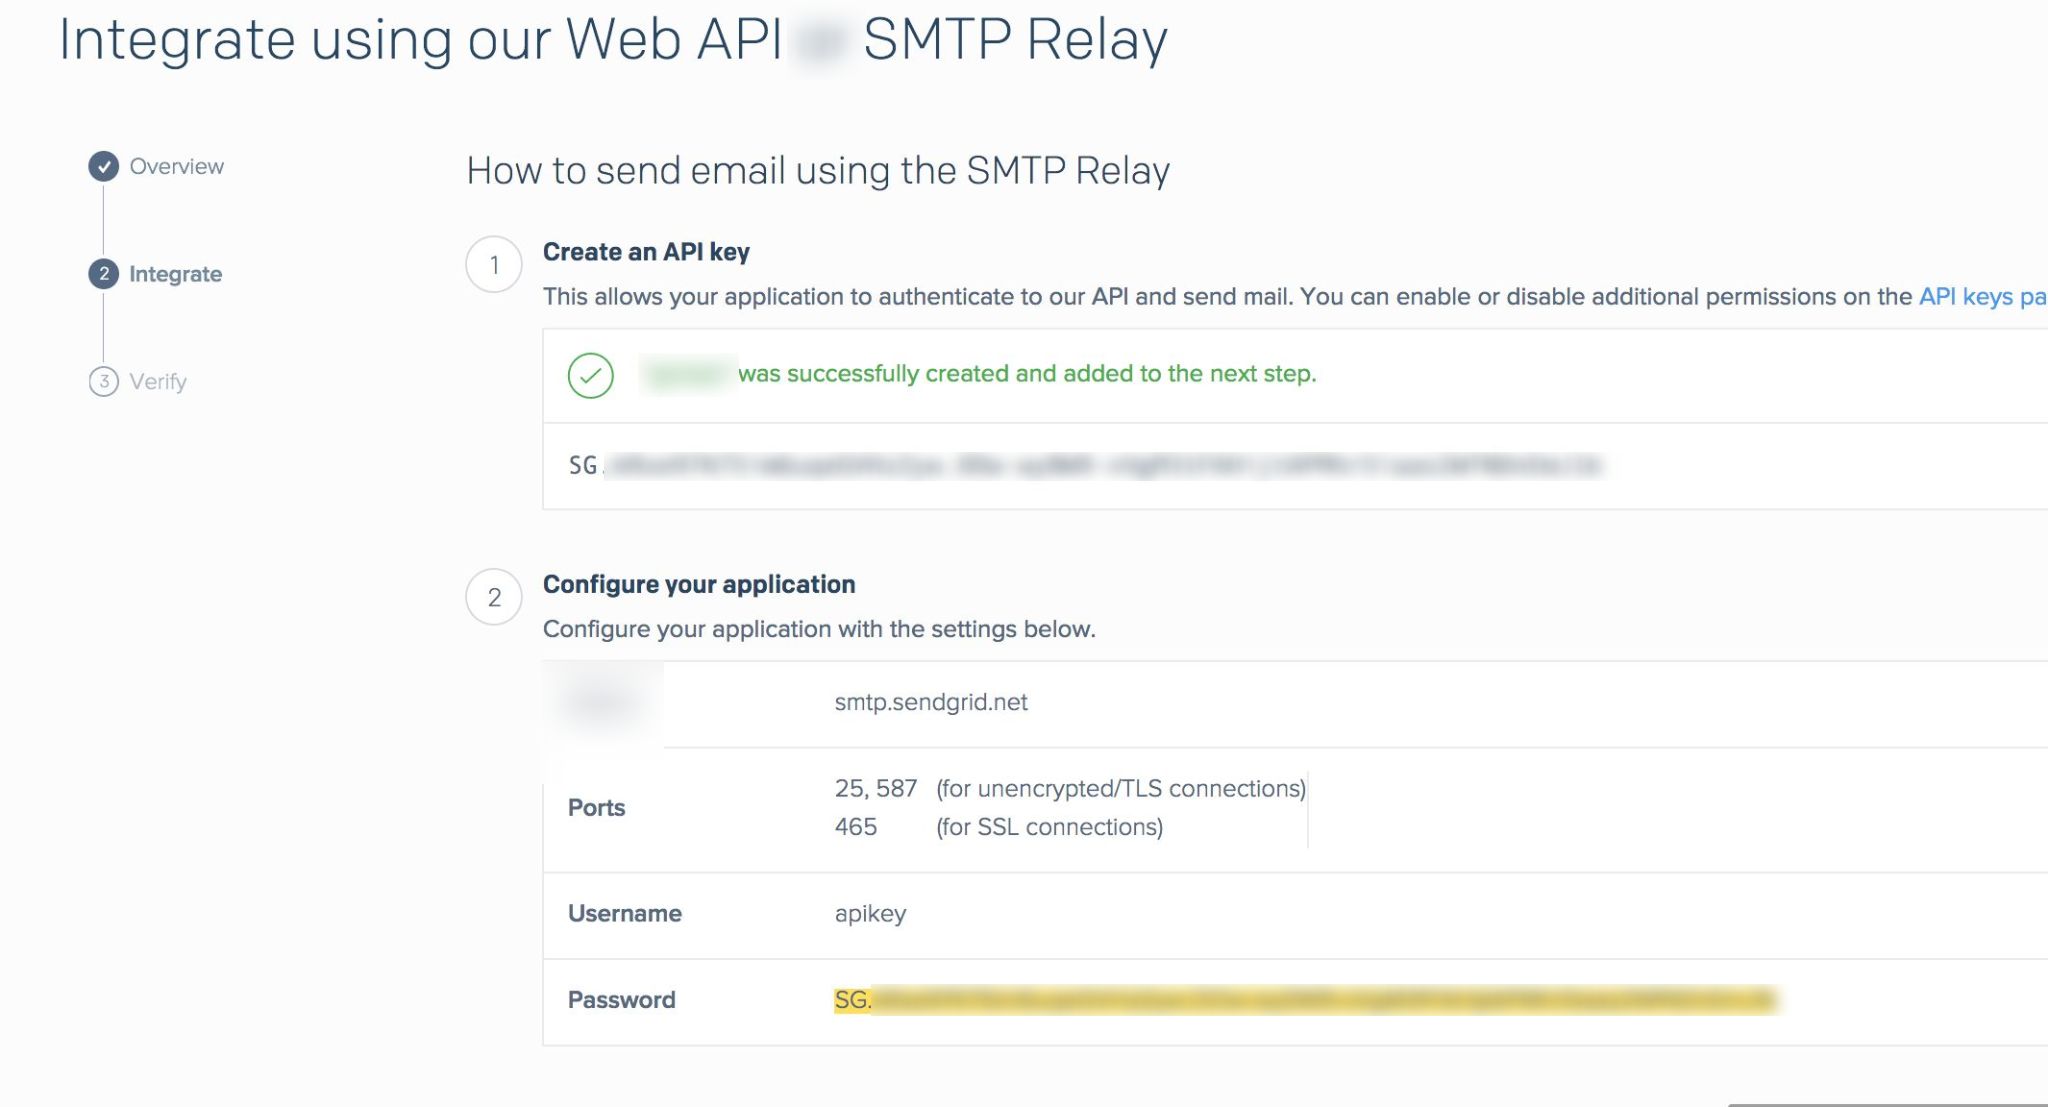
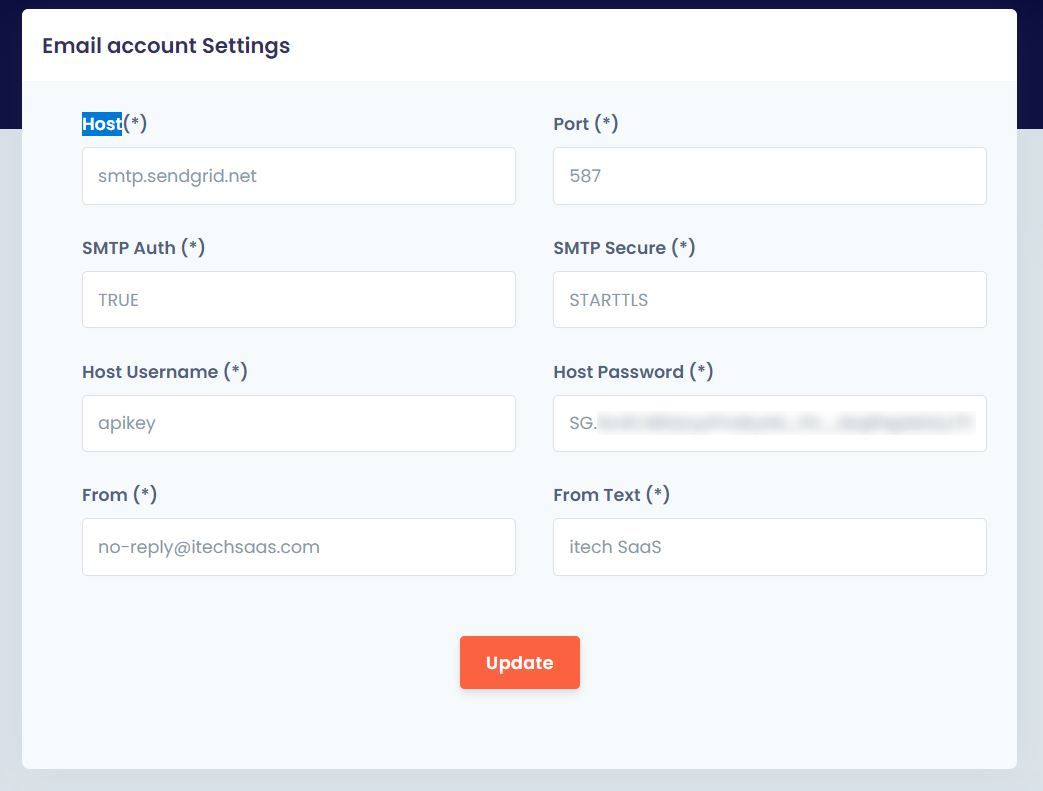
SMTP Setting in ItechSaaS CMS
- Copy the username and password
- Navigate back to your itechsaas admin dashboard
- Select Settings
- Click Email Settings
- Fill the account settings and click update
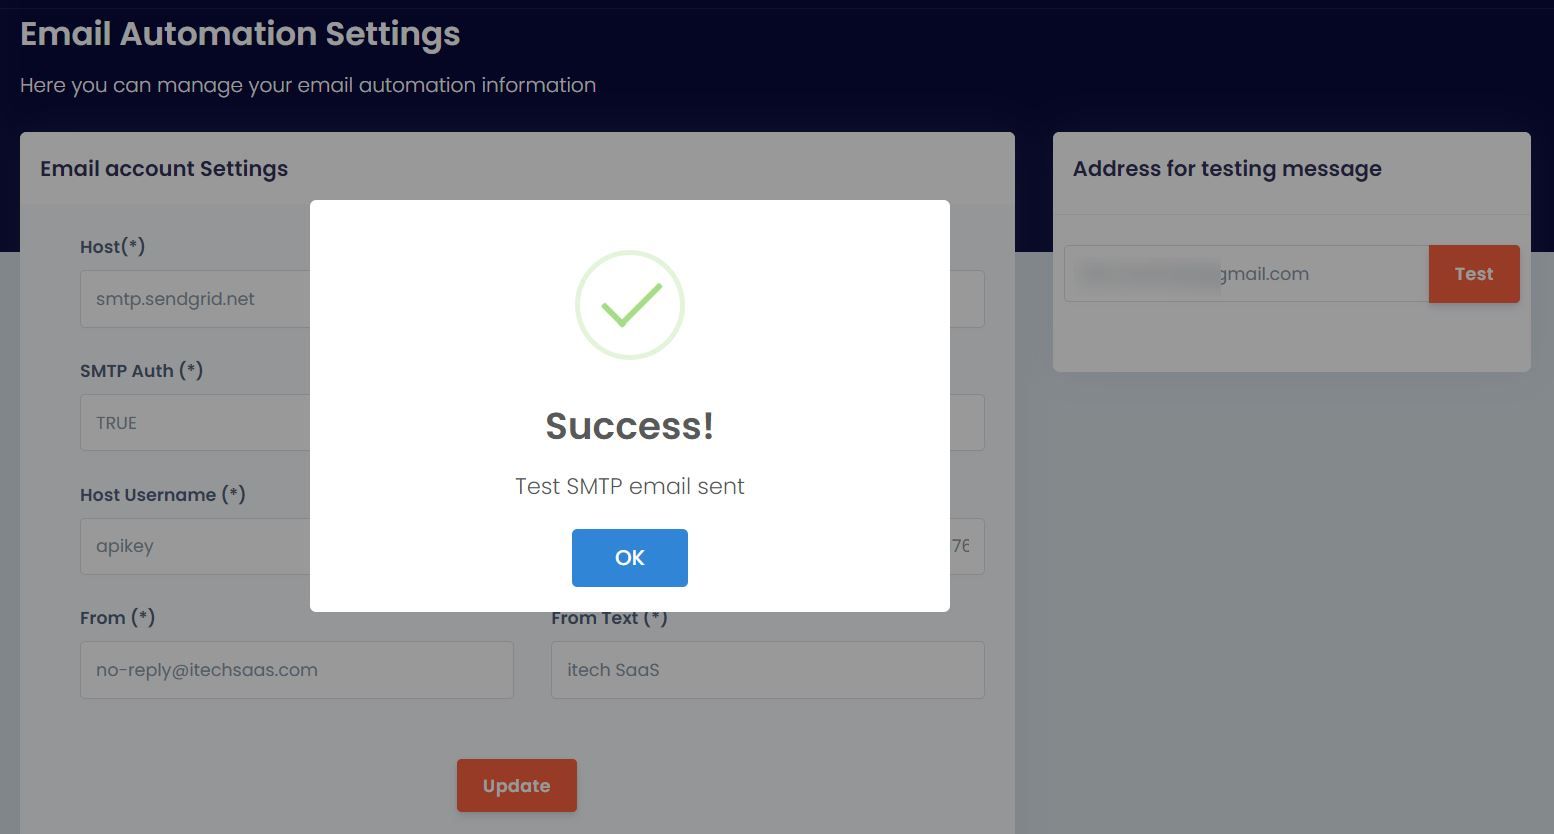
How to Verify SMTP Configuration
Itechsaas CMS now offers you the on-scene functionality of testing your SMTP settings right after configuring the SMTP service on the server. Hence, you can verify now if emails are properly dispatching from the server by sending a test email to yourself.
Now check your inbox to ensure you got the message!.
NOTE: You may want to check your spam folder if you haven’t received the message after a few minutes.
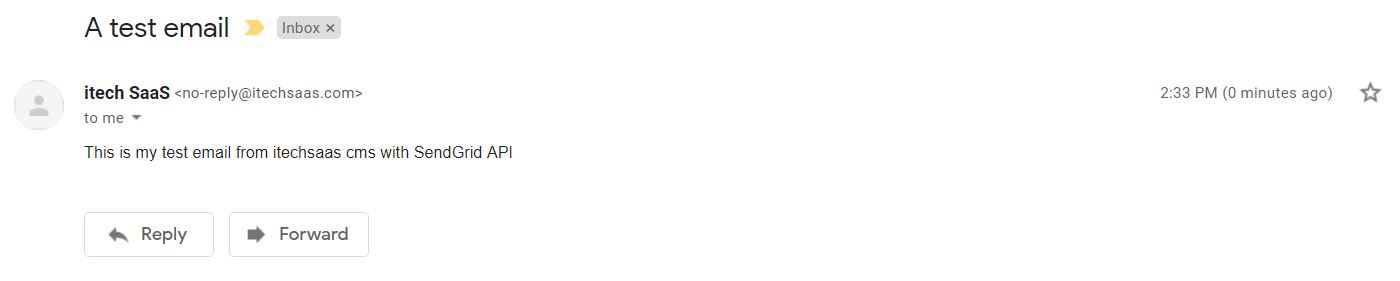
SendGrid has now been successfully configured!